

Angular CLI is in beta at the date of this article's publication. The author's opinions are still considered accurate but, as with any beta software, expect information to quickly become dated.
A brief introduction
Angular CLI is a command line tool used to develop and deploy an Angular2 front-end. Recently, I've been using Angular CLI to develop an enterprise front-end, and I have to say that I am impressed. It's a powerful tool, and due to it's opinionated approach, it's simple to use.
What makes the CLI a worthwhile tool is two things; first, it conveniently packs all the necessary commands for building, running, testing, and linting code into one place. Second, the CLI generates a highly scalable front-end infrastructure by bringing together a synergistic suite of tech that includes:
- Angular2 (the basis for life)
- Typescript (because NG2)
- Webpack (solid module bundler)
- Karma/Jasmine (simple unit testing)
- Protractor (even simpler e2e testing)
- Istanbul (sharp code coverage reporting)
- TSLint (clean and consistent code)
- And many other integrations...
For better or for worse, you won't find Gulp or Bower packed in by default, and I think it's a good thing. The code feels more streamlined by cutting out Bower in lieu of NPM, and the CLI acts as a basic task runner so Gulp isn't necessary either.
Installing the CLI
Angular CLI is primarily used as a local development tool. To get started, open up a terminal and run the following command:
npm install -g angular-cli
It might take a few minutes to install, so be patient. Also, note that the -g flag is important as it signifies to install and make the CLI available globally. After the install process, the CLI is made available via the ng command.
Create an Angular2 project
With the CLI installed, creating a new project is straight forward. Simply run the command: ng new <projectname>
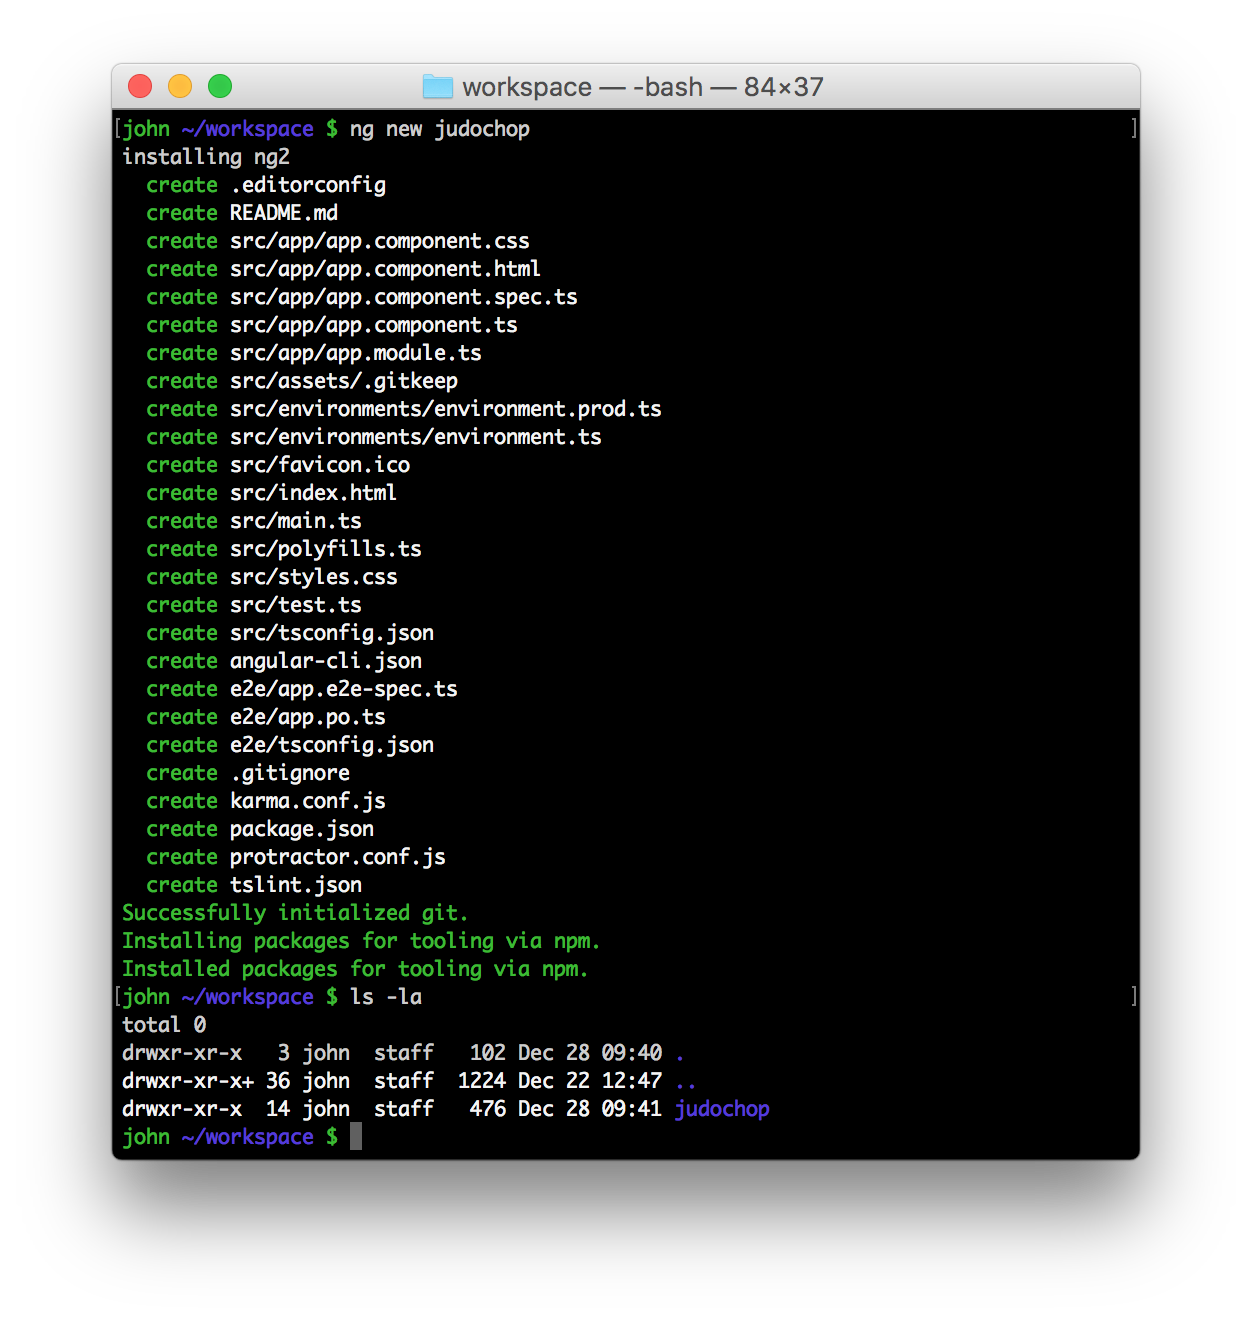
This will create a new directory for your project. Inside the directory, a runnable Angular2 project will have been generated. You can deploy the application locally using: ng serve
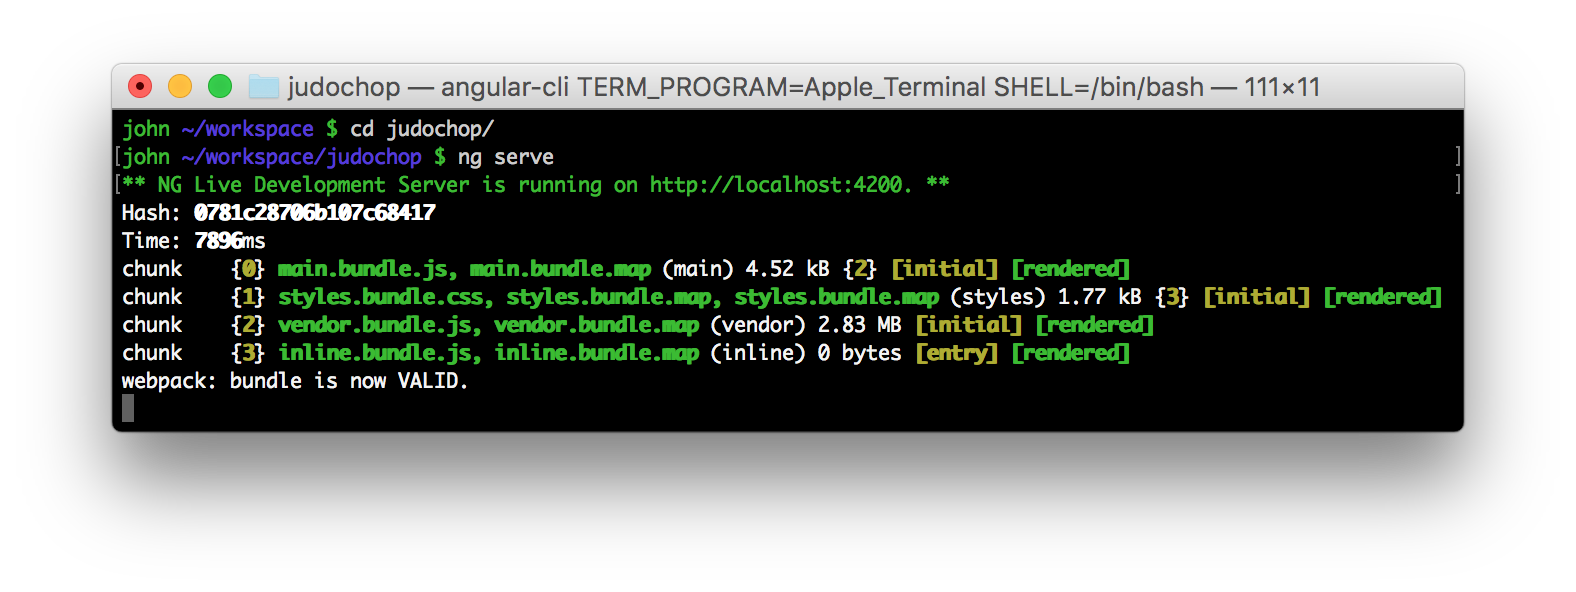
Open a browser to http://localhost:4200. The application should load and display the default text of App Works!
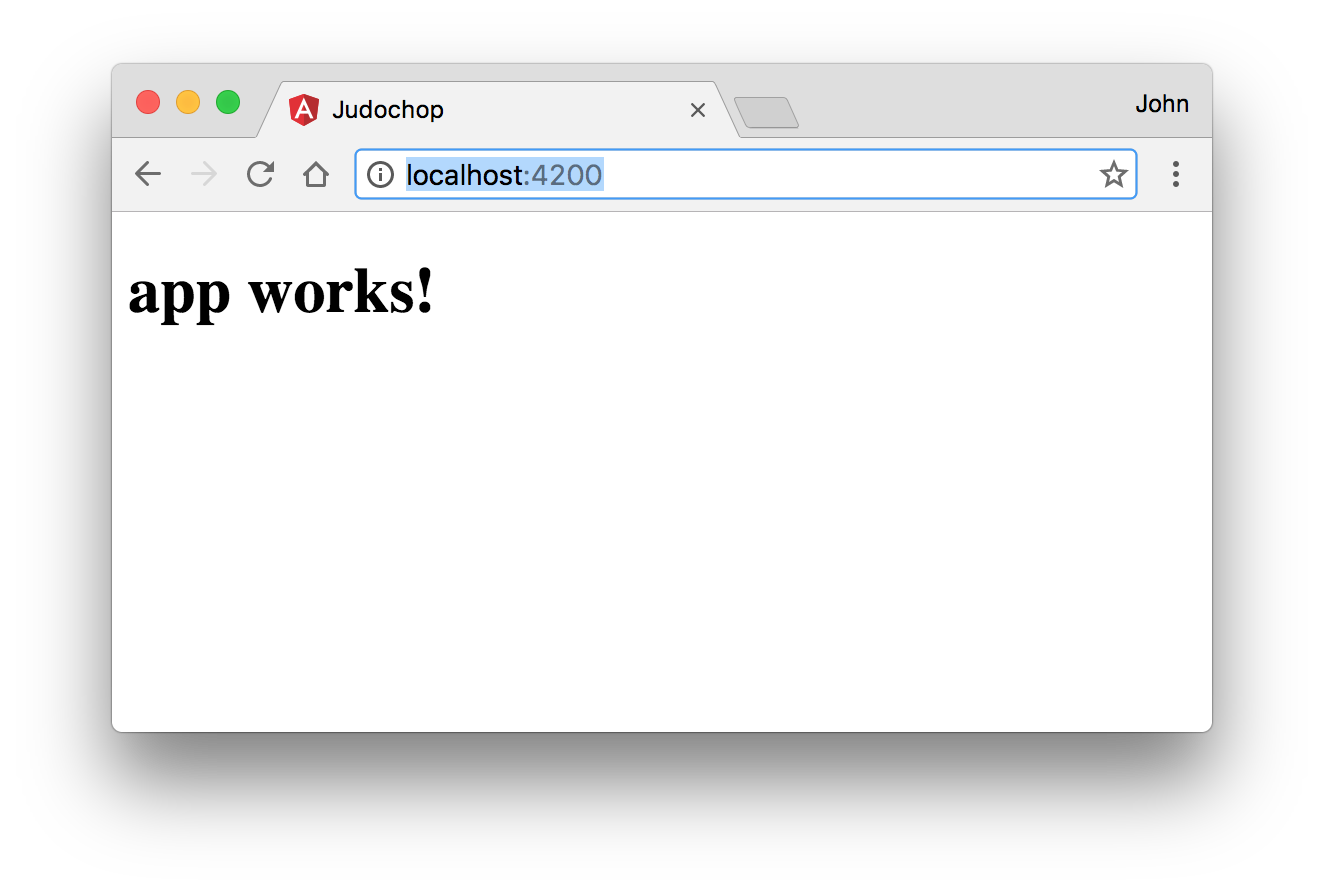
That's it! In one command, a runnable Angular2 application can be generated, and in another command it can be deployed.
You may have noticed that the serve command is still active in your terminal. The reason is that the CLI utilizes browser reload functionality by watching relevant project files for changes. When a file changes, Webpack does its magic to redeploy the application and automatically refresh the browser. This functionality has been around for a while via a variety of node packages, but it's still nice that the CLI packs it in by default.
Build, package, and deploy
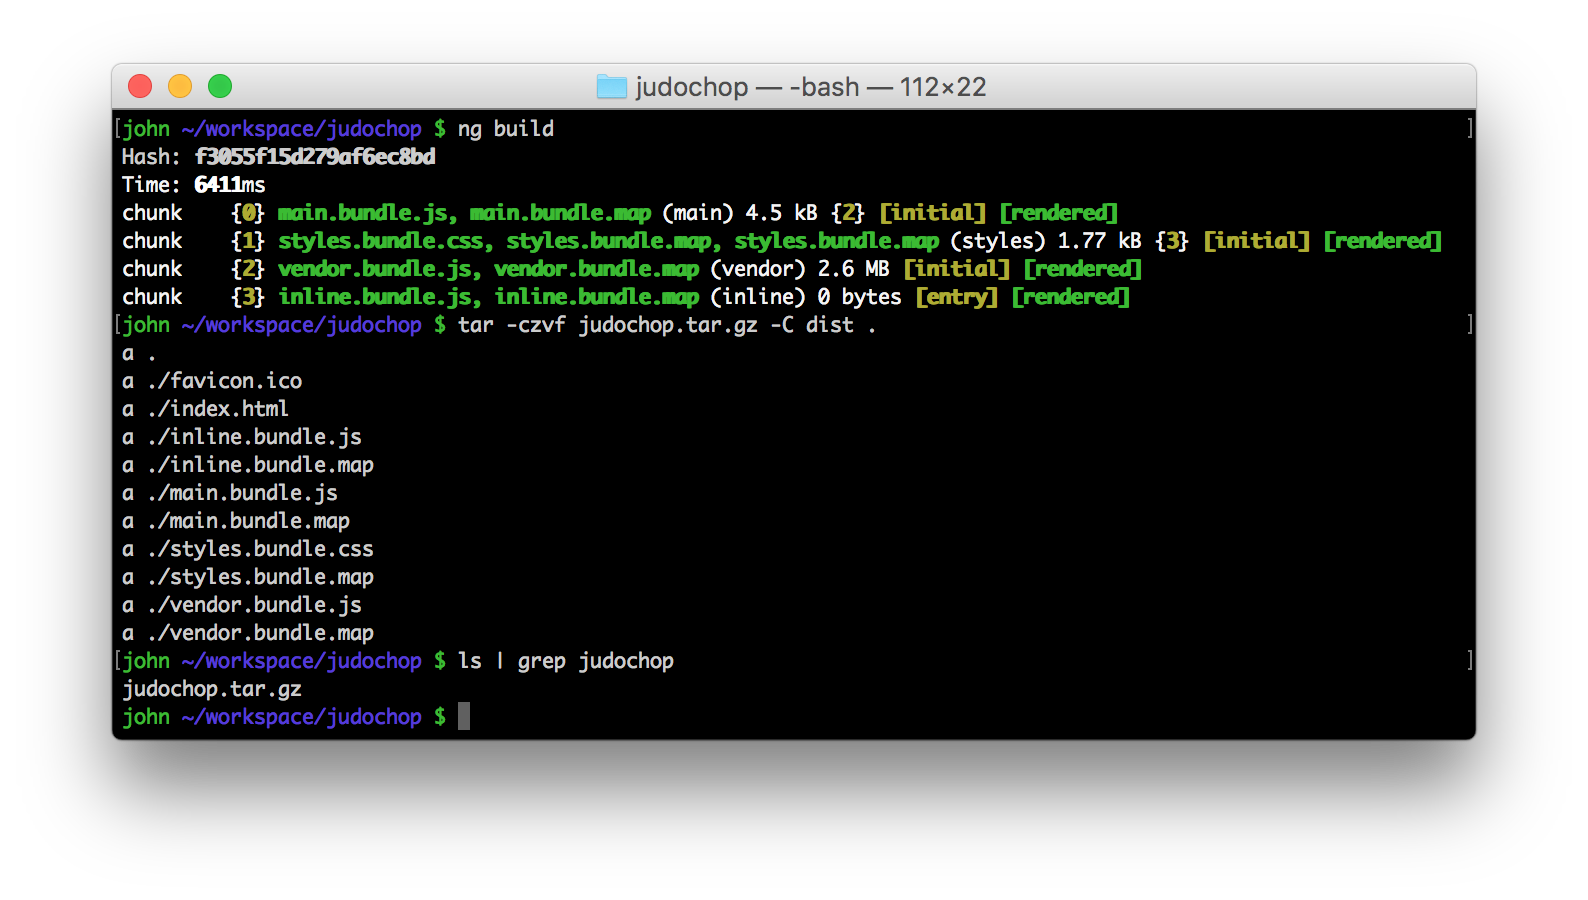
Eventually, the front-end will need to be deployed to a remote web server, and to do so, the application needs built and packaged. Fortunately, the CLI's build process is painless. Simply run ng build and the CLI will utilize Webpack to output the generated front-end to the project's dist folder.
The next step is to package the newly generated resources inside the dist folder to a tarball archive:
tar -czvf judochop.tar.gz -C dist .
Note: the -C dist . creates a cleaner tarball by only archiving the contents of the dist directory and not the directory itself.
Now the front-end is ready to be deployed! In this example, deployment is just copying and unzipping the archive to the web content directory of a locally-running Nginx server:
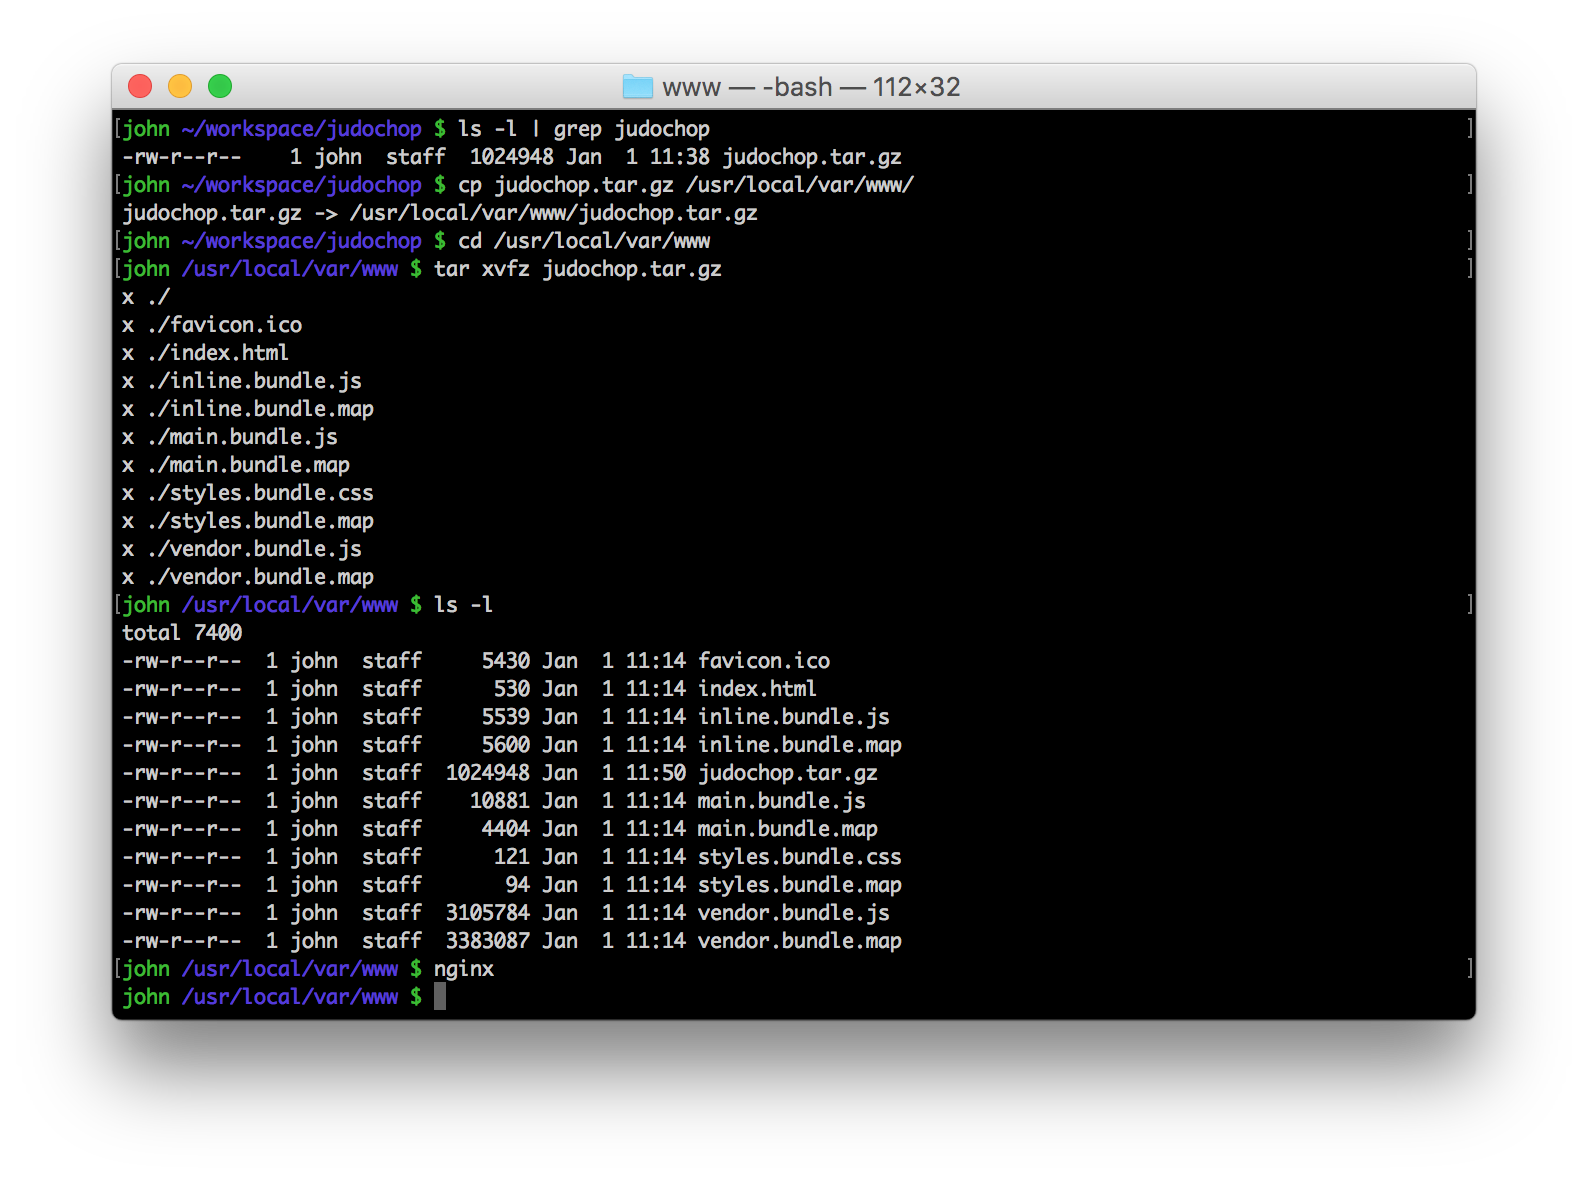
That's all there is to it! The front-end application is now being served by an independent web server!
Hopefully this article has been useful in getting started with Angular2. Modern web applications have become extremely complex, and Angular CLI has been an equalizer in making things a tad simpler.

Comments