


This article is intended for developers who are new to Microsoft Azure cloud. It is intended to help them understand the platform in order to help them become operational to create and maintain web applications in Azure. This article will present the most useful components for developers such as web applications, databases (DBs), storage spaces, and functions.
Link to the Microsoft Azure platform: https://portal.azure.com
Link to the Azure SDK: https://azure.microsoft.com/fr-fr/downloads/
Global View
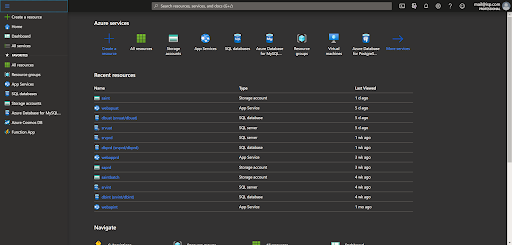
From the home page, you can access the most useful links in the Favorites menu located in the left column. This menu is divided as follows:
- All Resources
- Resource Groups
- App Services
- Storage Accounts
- SQL Databases
- Azure Database for MySQL
- Azure Cosmos DB
- Function App
We will now go through these shortcuts that have been proposed, both in terms of utility and interfaces.
All Resources
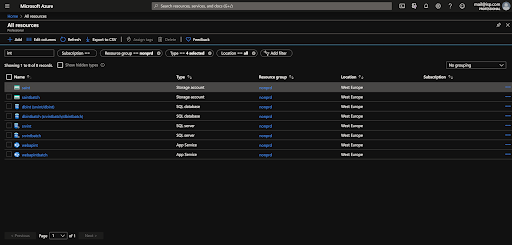
As its name suggests, this view lists all the resources (web apps, databases, storages, functions, etc.) to which you have access for all projects and environments. It is possible to play with the filters as shown in Figure 2 to display all the resources in the integration environment (INT) or to display only the web apps of the INT.
Resource Groups
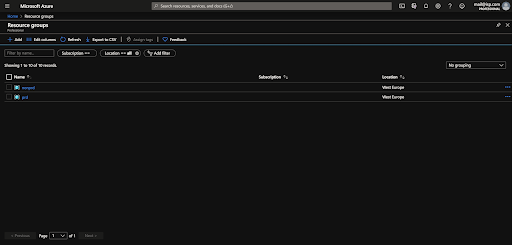
This view groups all resources by project, environment, and region. Again, filters can be used to help you view only the resources you want, such as all the environments in a single project.
Clicking on a resource group brings you to the interface shown in Figure 4.
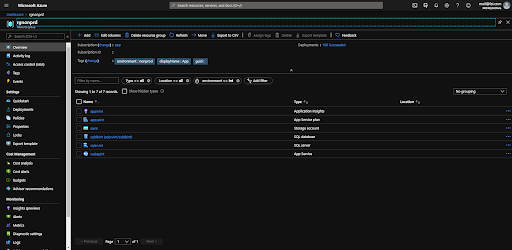
This view details the components of the Resource Group of INT. The most interesting components are web apps, storage (containers and queues), databases, and function apps (serverless functions).
Now that you have studied the different views allowing access to resources, you will see the details of each of the components that can be useful for the development of a project.
Detailed View of Resources
Web Apps
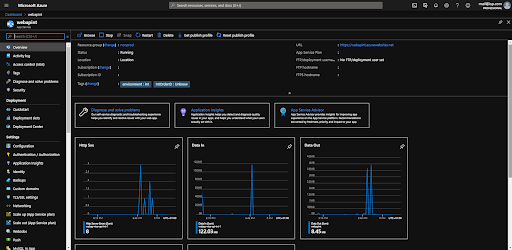
From this view, you can administer your web app, in particular by starting, restarting, or stopping it. This view also allows you to see the URL of the web app, which will allow front end developers to access it.
In the left menu there are useful shortcuts such as "Configuration" which allows you to configure the environment variables of the web app or "Advanced tools" which allows you to access the application logs of the web app.
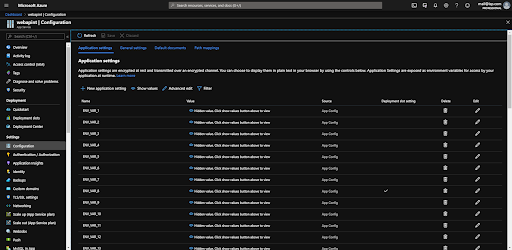
This view lists the environment variables that the web app retrieves depending on the environment in which it is hosted. Thus, it is also possible to create, edit, or delete them.
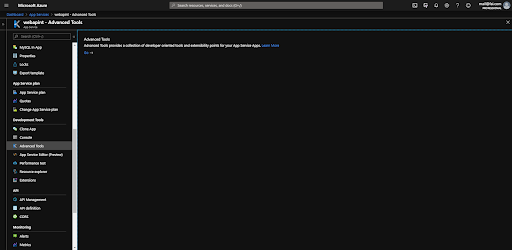
This very simple view provides access to Kudu, Azure's web app back office that stores the web app's application logs.
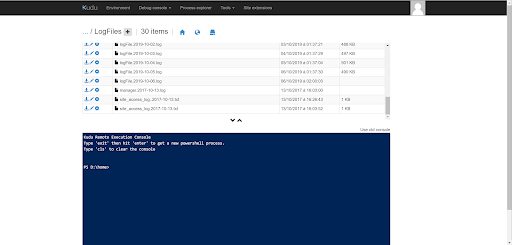
This view is the LogFiles directory of the server where the web app is hosted. It contains the application logs generated by the web app thanks to the integration of Application Insights in the application.
Note that it is possible to read the logs directly from the browser or to download them locally on your machine.
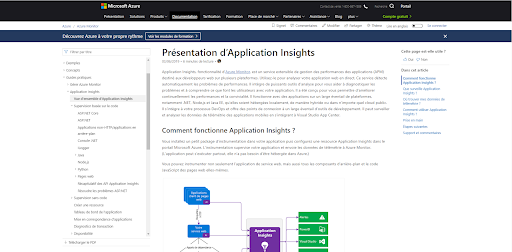
To configure Application Insights (Azure Monitor feature) in your application, you can follow this documentation which redirects to the web page shown in Figure 9.
Databases
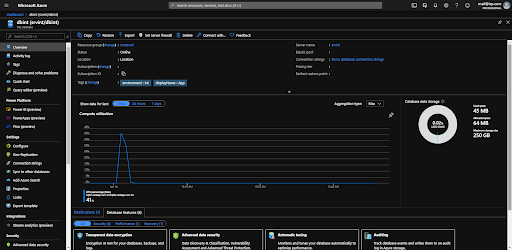
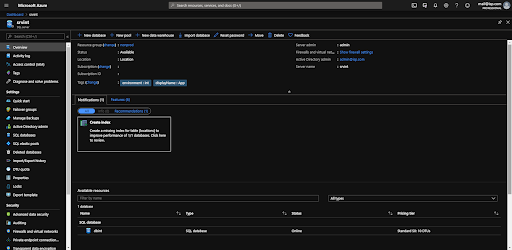
This view is the home page of a SQL Server DB. Among other things, it allows you to access the SQL Server via the srvint link located on the right side of the screen. It also provides two monitoring indicators on the DB which are the CPU usage and the disk fill rate.
In the left menu, there are useful shortcuts such as "Query Performance Insight" which informs the user about the performance of the database by type of metrics and "Connection Strings," which lists the connection strings to the DB.
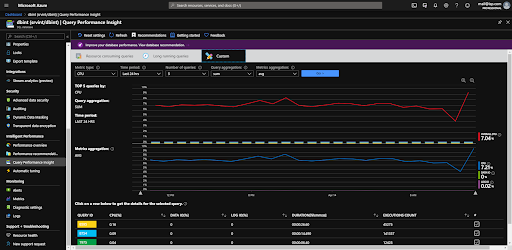
This list view allows you to visualize the performance of your DB with several useful filters. You can choose to observe the CPU performance, the input/output in terms of data or logs, the duration of the queries, and the number of executions of the queries -- all on-time intervals chosen by another filter. Therefore, this tool can be useful when there is a need to analyze or improve the performance of the DB.
Let's now move to the "Connection Strings" view.
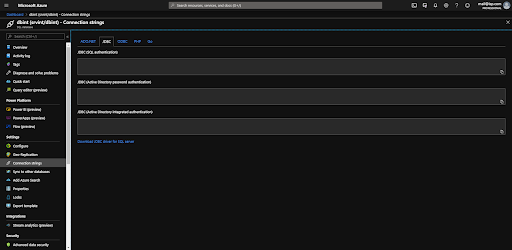
This view lists the different connection strings available for C#, C++, Java, PHP, Go, and the ODBC standard. Normally, you should see these strings in the boxes, but they have been removed for confidentiality reasons. All you must do is to copy your URL into your own DB access configuration and customize your authentication information, the famous user/password!
Now go back to the DB overview page to go to the DB server by clicking on the srvint link.
From this screen, you have the contact information of the DB administrator in the "Active Directory Admin" field in case you need support and a quick link back to dbint that redirects you to the DB.
In the left menu, there are some useful shortcuts, such as SQL databases, which allows you to find the link to the DB or Firewalls and virtual networks which allows you to manage the IP addresses allowed to connect to the DB.
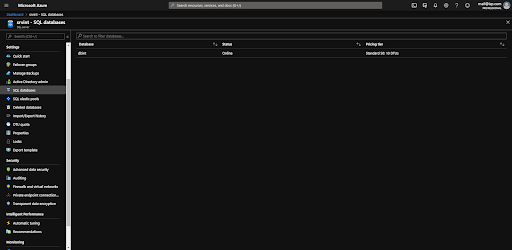
This screen lists all the DBs created in the SQL Server you are browsing in order to retrieve the connection strings to the different DBs.
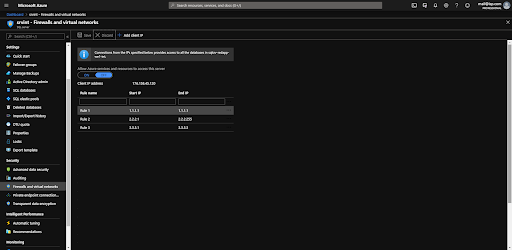
This view allows you to create as many rules as needed to allow single IP addresses or ranges of IP addresses to connect to the DB. Developers can create rules to allow IP address ranges from their workplace to access remote DBs from their own computer.
Storages
Overview
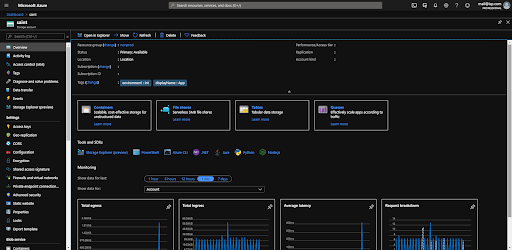
This view is the home page of a storage account. It provides access to the different storage services, such as containers, file shares, tables, and queues (we will only develop containers and queues). It also provides a quick link to the Azure Storage online documentation.
Documentation
To configure Azure Storage in your application, you can follow this documentation, which redirects to the web page shown in Figure 16.
The left-hand menu also contains useful shortcuts, including Storage explorer, which allows you to browse the tree structure of storage resources, Access keys, which allows you to retrieve application connection information to the storage code, and Shared access signature, which allows you to generate read and/or write access tokens for storage resources.
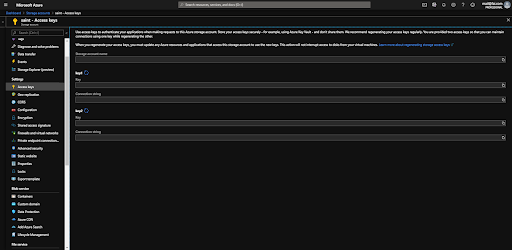
This view provides the two key elements for the connection of a web app to an Azure storage: the Account name and the Account key. These two pieces of information will be entered in the application's environment variables and used by the Azure library when connecting to the storage of the environment concerned.
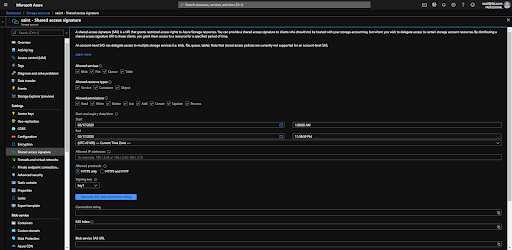
This view allows you to generate access tokens (which are in fact, URIs) providing restricted access rights to the storage and limited in time in order to secure the data stored. Without a signature, a web app will not be able to access the resources of its storage. As far as signature generation is concerned, it is possible to generate a URI with read-and-write permissions on all the storage resources for an unlimited period but be careful about security. It is also possible to provide a read-only access token for one hour. Everything depends on the need.
Containers
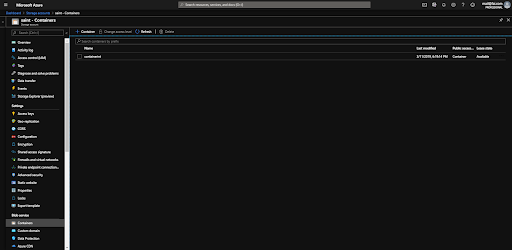
This view lists all the containers created in the storage. It allows you to create new ones, to modify them after creation, and to delete them. Let's now simulate the creation of a new container.
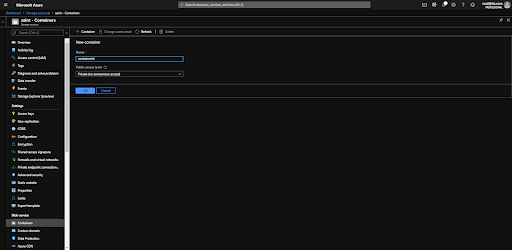
This view is the interface for creating a new container. It is very simple, requiring only the name of the new container and the access level. When you click on the drop-down list, the three options shown in Figure 22 are displayed.
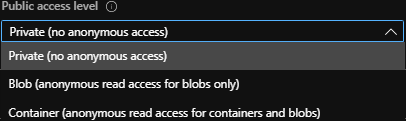
The three levels of access to a container are Private, Blob, and Container. Configured on Private, a token is required to access the resources of the container. Configured on Blob, it is possible to access the resources hosted in the storage without an access token. Finally, configured on Container, it is possible to access the contents of the containers without an access token.
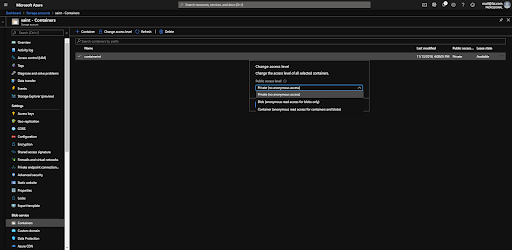
It is possible to change the accessibility level of a container, even after it has been created. Simply right-click on it.
Finally, enter the container to view its contents.
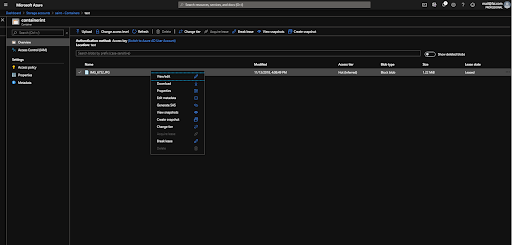
This view lists all the blobs contained in a container. A container can contain three types of blobs namely Block blobs, Append blobs, and Page blobs.
Block blobs are designed to store text or binary files, and to load large files efficiently. Append blobs are designed for append operations such as logging. Page blobs are made up of pages of up to 512 bytes that can reach a total size of 8 TB. They are designed for frequent random read/write operations. In the context of our project, we only use Block blobs.
The view of a container will now allow you to visualize the blobs contained in it, as well as the public URL at which they are accessible, but also to upload new ones, delete them, and even to create access tokens specific to these blobs.
Queues
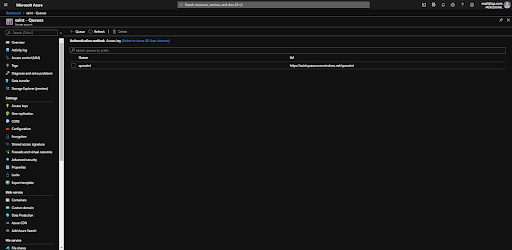
This view lists all the queues created in the storage. It allows you to create new queues and to delete them. Simulate the creation of a new queue by clicking on the '+' button next to the Refresh button.

This view is the interface for creating a new queue. It's quite simple -- it just requires the name of the new queue. Once saved, it is created and usable.
Functions
In the context of our project, although we did not have the opportunity to use them, you should know that Azure offers a service of Function apps, which are serverless applications that can be hosted on different runtimes such as Java, .Net, Node, Python, and even Powershell.
With this, you can create a function app that acts as a trigger when a file is dropped in a container or when a message is dropped in a queue.
Conclusion
Throughout this article, you have taken the first step into the Azure cloud offered by Microsoft by browsing the components useful to web application developers.
In summary, you have studied the web apps that host the code of your web application, the DBs that store the data of your web app, the storages that are useful for storing files and messages, and you are now aware that the functions are at your disposal to configure HTTP triggers on all types of events observed by your web app.


Comments