
Various industries such as Banking, Manufacturing, Insurance, Health, and Defense are using Machine Learning to solve many use cases such as fraud detection, improving healthcare, personal security, providing more secured transportation etc. Recently Ippon Technologies sent me to a summit on Data Science where I learnt about how organizations are using Machine Learning to improve their business and productivity. During the course of the summit many service and cloud providers presented various tools, libraries, algorithms and platforms for developing Machine Learning applications. One of the services introduced to me was Sagemaker by AWS. In this blog I will talk about how I implemented a basic regression model.
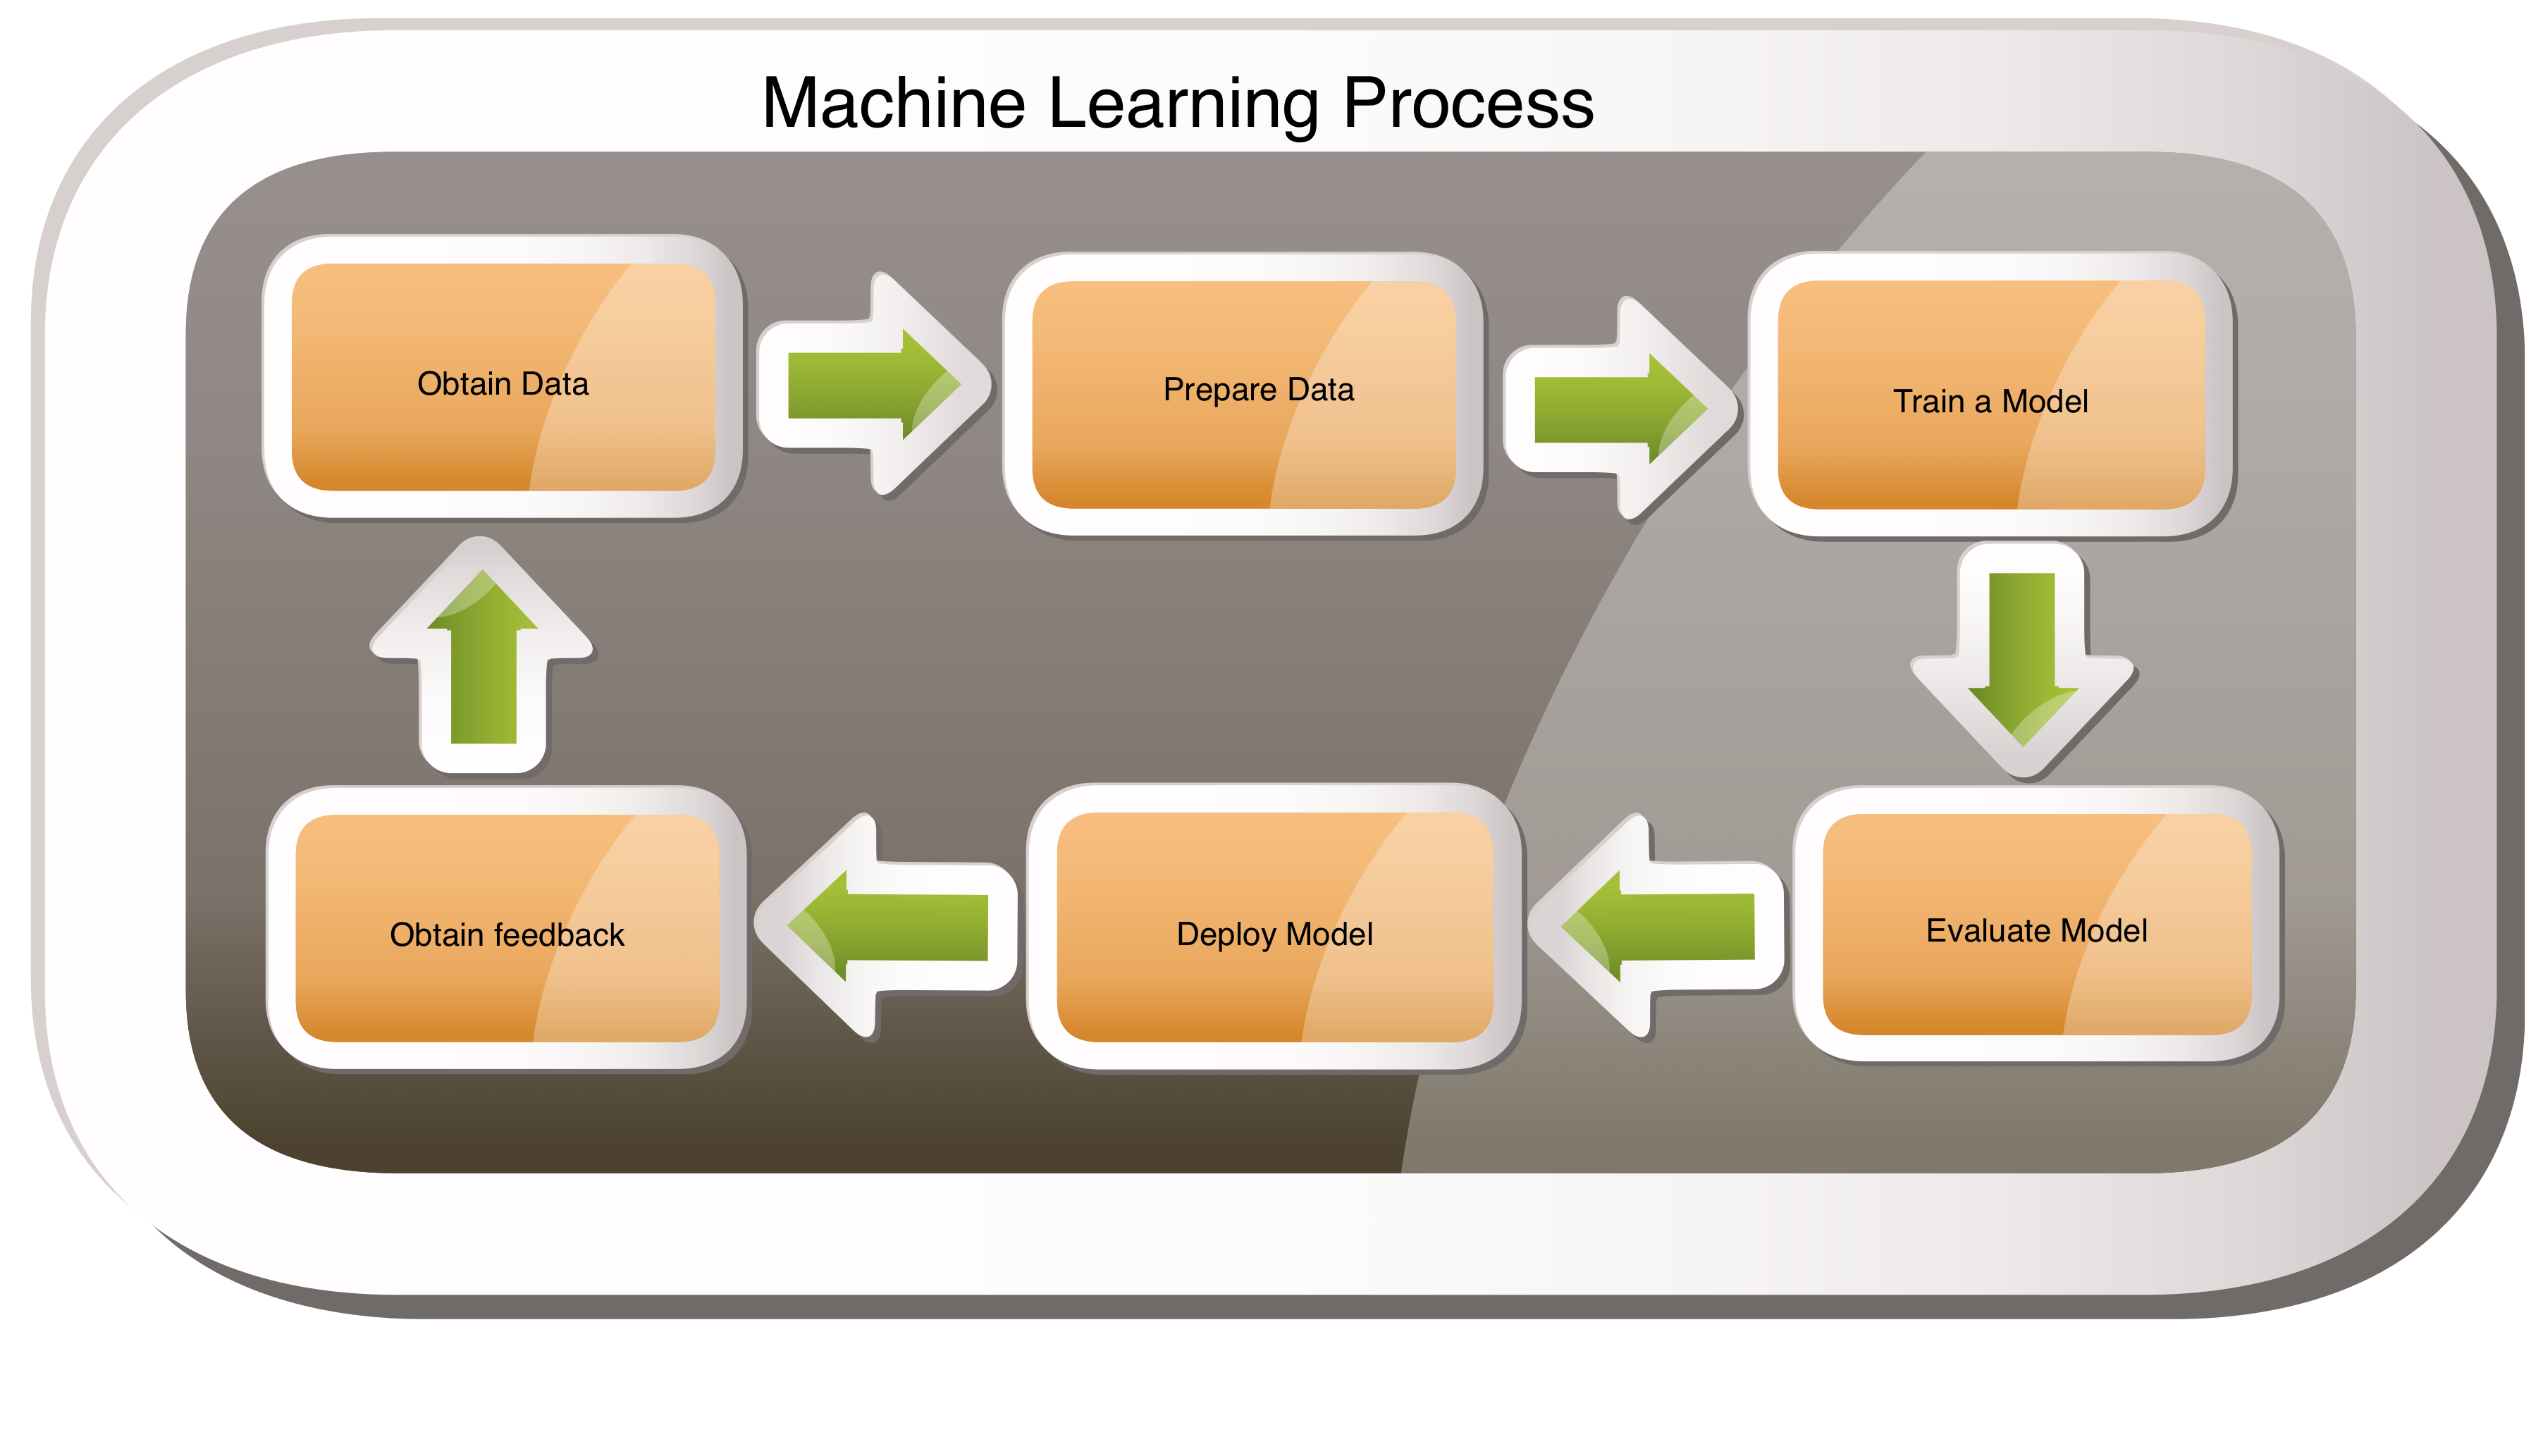
Machine Learning Process
Typically Machine Learning process is an iterative process; it starts with identifying a use case to solve. Some of the steps involved in this process are as follows. This could change based on the use case you are trying to solve.
- Identify and Obtain Data.
- Pre-process and Prepare Data.
- Train a Model using the Prepared Data.
- Evaluate the Model.
- Deploy the Model.
- Obtain Feedback of the Model.
Each of the above steps are iterative by themselves. Multiple iterations can happen during each of these steps depending on the data and performance of the model etc.
AWS Sagemaker
AWS Sagemaker is a fully managed AWS Machine Learning service which helps in building, training and deploying Machine Learning models. It has a rich set of API's, built-in algorithms, and integration with various popular libraries such as Tensorflow, PyTorch, SparkML etc. It also has developers tools for authoring models, and provides a production environment for deploying the models.
Regression Model Implementation
In this example we will develop a regression model to predict body fat percentage based on already labeled data with 14 parameters like age, height, weight, abdomen circumference etc. This data is widely available (Dataset Location1 or Dataset Location2) on the internet. A more advanced process is to find only the relevant features or parameters to train the model.
We will use the Jupyter Notebook authoring environment provided by Sagemaker to prepare data, train and evaluate a model, to deploy and test the model. The notebook environment also supports version control systems like CodeCommit or GitHub. You can upload any test data used by the Notebooks into the environment. The notebook lets you install any python libraries needed for your model using tools such as pip, and run any git commands to push your changes in to a git repository.
In order to use the Jupyter Notebook, we need to create a Notebook Instance by providing an instance type such as ml.t2.medium. Provide an IAM role with the proper access control during instance creation.
Now create a new Jupyter Notebook to interactively author, train, test and deploy the Model.
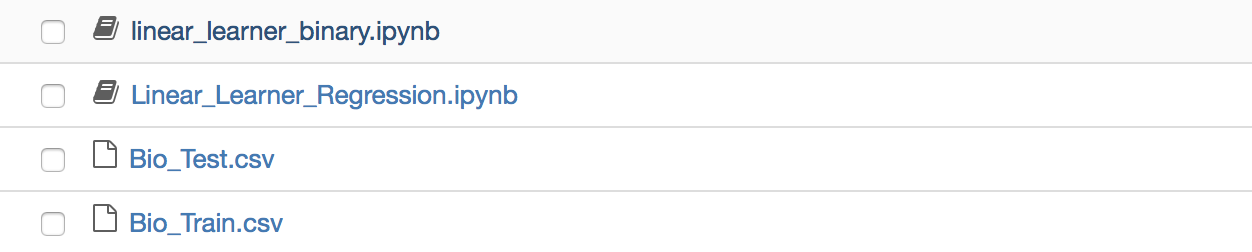
Prepare the data by reading the training dataset from a S3 bucket or from an uploaded file. Format the data into an acceptable format typically this is in the form of arrays and vectors depending on the algorithm used.
import numpy as np
import boto3
import sagemaker
import io
import sagemaker.amazon.common as smac
import os
import pandas as pd

//Read from csv or someother location like s3.
dataset = pd.read_csv("Bio_Train.csv")

// Determine the features and labels.
feature_dataset = dataset[['Density', 'Age', 'Wt', 'Ht', 'Neck', 'Chest',
      'ABD', 'Hip', 'Thigh', 'Knee', 'Ankle', 'Biceps', 'Farm', 'Wrist']]
features = np.array(feature_dataset.values).astype('float32')

label_dataset= dataset[['BFat']]
labels = np.array(label_dataset.values).astype('float32')
labels_vec = np.squeeze(np.asarray(labels))
Upload the prepared data into S3 bucket.
buffer = io.BytesIO()
smac.write_numpy_to_dense_tensor(buffer, features, labels_vec)
buffer.seek(0)

key = 'linearregression'
boto3.resource('s3').Bucket(bucket).Object(os.path.join(prefix, 'train', key)).upload_fileobj(buf)
s3_training_data_location = 's3://{}/{}/train/{}'.format(bucket, prefix, key)
Fetch the container with the corresponding algorithm to use from the list of pre-defined Sagemaker algorithms or give your own custom container to support custom algorithms. In this case pre-defined linear-learner algorithm is used which supports both classification and regression problems.
from sagemaker.amazon.amazon_estimator import get_image_uri
linear_container = get_image_uri(boto3.Session().region_name, 'linear-learner')
Now train the model using the container and the training data previously prepared. Create a new instance for training the Model, provide the instance type needed. The trained Model is stored in the S3 bucket as a tar file so provide S3 bucket details.
Note: Only certain types of instance types can be used for training and deploying the models. You will be warned with a message as below.
ClientError: An error occurred (ValidationException) when calling the CreateTrainingJob operation:
1 validation error detected: Value 'ml.t2.medium' at 'resourceConfig.instanceType' failed to
satisfy constraint: Member must satisfy enum value set: [ml.p2.xlarge, ml.m5.4xlarge,
ml.m4.16xlarge, ml.p3.16xlarge, ml.m5.large, ml.p2.16xlarge, ml.c4.2xlarge, ml.c5.2xlarge,
ml.c4.4xlarge, ml.c5.4xlarge, ml.c4.8xlarge, ml.c5.9xlarge, ml.c5.xlarge, ml.c4.xlarge,
 ml.c5.18xlarge, ml.p3.2xlarge, ml.m5.xlarge, ml.m4.10xlarge, ml.m5.12xlarge, ml.m4.xlarge,
ml.m5.24xlarge, ml.m4.2xlarge, ml.p2.8xlarge, ml.m5.2xlarge, ml.p3.8xlarge, ml.m4.4xlarge]
from sagemaker import get_execution_role

role = get_execution_role()

sagemaker_session = sagemaker.Session()

// Provide the container, role, instance type and model output location
linear = sagemaker.estimator.Estimator(linear_container,
                                       role=role,
                                       train_instance_count=1,
                                       train_instance_type='ml.c4.xlarge',
                                       output_path=output_location,
                                       sagemaker_session=sagemaker_session)

// Provide the number of features identified during data preparation
// Provide the predictor_type

linear.set_hyperparameters(feature_dim=14,
                           mini_batch_size=4,
                           predictor_type='regressor')

// Train the model using the previously prepared test data and validate the
//data by providing the validation data.

linear.fit({'train': s3_training_data_location})
Deploy the Trained Model using the Sagemaker API. Provide the instance type and instance count as required. Once the deployment is complete, the test data is used to test the deployed application. Once the Model is deployed an http endpoint is generated which is used by other applications such as a lambda function which is part of a streaming application or a synchronous application. To support varying loads the application can be autoscaled.
linear_predictor = linear.deploy(initial_instance_count=1,
                                 instance_type='ml.c4.xlarge',
                                 endpoint_name='ippon-sagemaker-regression-v1')

from sagemaker.predictor import csv_serializer, json_deserializer

linear_predictor.content_type = 'text/csv'
linear_predictor.serializer = csv_serializer
linear_predictor.deserializer = json_deserializer

test_dataset = pd.read_csv("Bio_Train.csv")
test_feature_dataset = test_dataset[['Density', 'Age', 'Wt', 'Ht', 'Neck',
      'Chest', 'ABD', 'Hip', 'Thigh', 'Knee', 'Ankle', 'Biceps', 'Farm', 'Wrist']]

test_features = np.array(test_feature_dataset.values).astype('float32')

for tf in test_features:
    prediction = linear_predictor.predict(tf)
    print(prediction)

'''
Sample predictions for the inputs provided

[  1.0599  65.     127.5     65.75    34.7     93.      79.7     87.6

  50.7     33.4     20.1     28.5     24.8     16.5   ]

{'predictions': [{'score': 17.886016845703125}]}

[  1.0708  23.     154.25    67.75    36.2     93.1     85.2     94.5

  59.      37.3     21.9     32.      27.4     17.1   ]

{'predictions': [{'score': 11.932418823242188}]}

[  1.0841  42.     167.25    72.75    37.6     94.      78.      99.

  57.5     40.      22.5     30.6     30.      18.5   ]

{'predictions': [{'score': 6.799102783203125}]}

'''
The deployed application can be invoked from a custom application using the AWS Sagemaker API's as below. For more information on Sagemaker API's please visit Sagemaker Python SDK or
Sagemaker Java SDK
//Process input data and fetch the input for the model.
String csvLine = "1.061,33.,211.75,73.5,40.,106.2,100.5,109.,65.8,40.6,24.,37.1,30.1,18.2";
AmazonSageMakerRuntime client = AmazonSageMakerRuntimeClientBuilder.standard().
				withRegion(Regions.US_EAST_1).withCredentials
                             (new AWSStaticCredentialsProvider(creds)).build();

InvokeEndpointRequest invokeEndpointRequest = new InvokeEndpointRequest();
ByteBuffer buf = ByteBuffer.wrap(csvLine.getBytes());
invokeEndpointRequest.setContentType("text/csv");
invokeEndpointRequest.setAccept("application/json");
invokeEndpointRequest.setBody(buf);
// provide appropriate endpoint name.
invokeEndpointRequest.setEndpointName("ippon-sagemaker-regression-v1");
InvokeEndpointResult result = client.invokeEndpoint(invokeEndpointRequest);
String responseJson = new String(result.getBody().array());
// The respinseJson contains the  prediction as below
// {"predictions": [{"score": 20.166656494140625}]}
// Add business logic based on the prediction received.
Conclusion
AWS Sagemaker provides capabilities to Author, Train, Deploy and Monitor Machine Learning applications using wide variety of algorithms, libraries and infrastructure. This can help Data Engineers and Data Scientists to come up with quality models.
I hope this blog helps you to venture into the Machine Learning world using AWS Sagemaker.


Comments