
Fresh off the high of my successes in Part 1, where I successfully set up my development environment, I got ready to create an application using the freshly downloaded JHipster. I am psyched!

Dramatic reenactment.
November 22, 2017
But... I’m also kind of nervous, because I’ve never done anything like this before. Also, I decided to take a leap of faith that I can follow the instructions OK, and I haven’t even talked with my buddy Jake, like I did for part 1.
That’s OK, I’m sure it’ll be fine. Here are the instructions, in case you want to follow along.
All right, enough stalling. Here goes...
Step 1: Create an empty directory and go to it
- For this step, I simply opened Terminal and typed in the command
mkdir myapplication - Then I went to that directory by inputting the following command:
cd myapplication
Success! I could tell that I had input the command successfully, because my command line in Terminal changed to have :myapplication in it.
Step 2: Generate my application
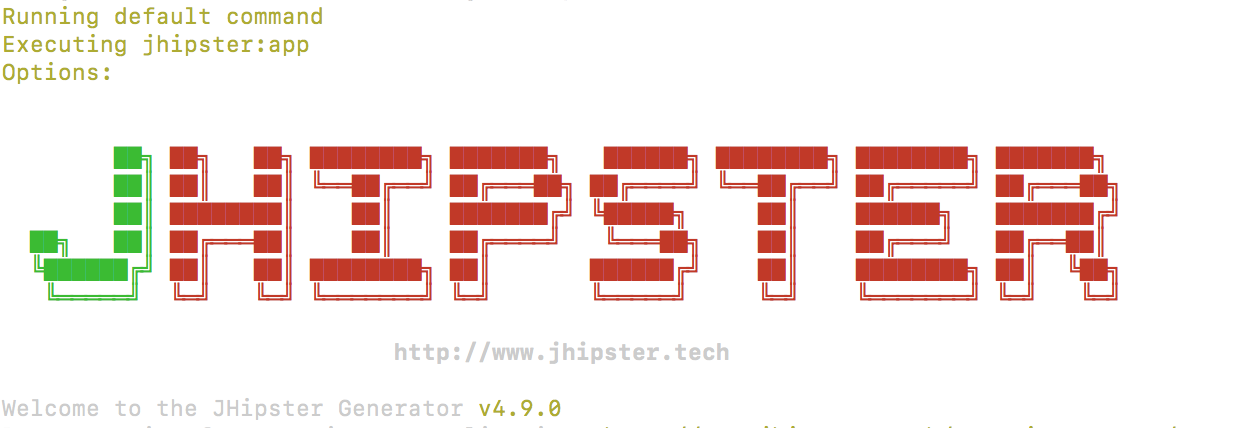
To generate my application, I input the following command: jhipster
Success! This was pretty cool, because I got the following returned in Terminal.
Step 3: Answer questions about the application I want to create
- May JHipster anonymously report usage statistics to improve the tool over time? (Y/n) → I said Y
- Which type of application would you like to create? The options are Monolithic, Microservice, Microservice gateway, JHipster UAA server.
- I opted to create Monolithic application because I wanted to just create something simple; also, it is the recommended default if you don’t have another preference (which, in this case, I do not).
- What is the base name of your application? This one was a little confusing to me at first because it looked like this:

It turned out that this meant that the base name was defaulted to myapplication; I had the option to rename it if I wanted to, but I didn’t have to. Also, the application was going to run from my own server or computer so I could call it whatever I wanted to, at least for now. For right now, I opted to leave it called myapplication.
- What is your default Java package name? I left this as the default and hit Enter.
- Do you want to use the JHipster Registry to configure, monitor and scale your application? I said No, because I am not doing Microservices and because I’m only building an application for fun.
- Which type of authentication would you like to use? I said JWT, because it’s the default and that seemed fine.
- Which type of database would you like to use? I chose SQL, because it’s the default and I don’t think I’m going to use a database anyway.
- Which production database would you like to use? I left it as MySQL, the default.
- Which development database would you like to use? I left it as H2, the default.
- Do you want to use Hibernate 2nd level cache? I kept the default answer here (Yes, with ehcache)
- Would you like to use Maven or Gradle for building the backend? Maven (the default answer)
- Which other technologies would you like to use? I left this as the default, which means none are selected.
- Which framework would you like to use? I left this as Angular 4 (the default)
- Would you like to use the LibSass stylesheet preprocessor for your CSS? N (selected because it appears to be the default, and because the instructions suggest using Node-sass instead; also, I do not have plans to work with CSS right now)
- Would you like to enable internationalization support? Y (selected because it appears to be the default)
- Please choose the native language of the application: English
- Besides JUnit and Karma, which testing frameworks would you like to use? I selected Cucumber
- Would you like to install other generators from the JHipster Marketplace? N (selected because I don’t want anything else right now)
The scripts to run this took a few minutes after I hit Enter the last time. Also, I noticed that answering all of these questions was somewhat tedious and took a long time, compared to the previous whirl of setup. I felt my energy starting to flag.
But just then...
Wait for it...
Success! I got a “Build successful” message from JHipster!

I’m en fuego.
I’ve totally earned a coffee break.

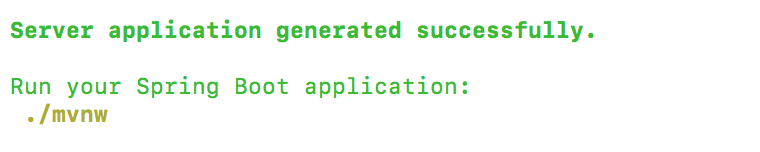
Step 4: Run Spring Boot application
My next steps are outlined near the end of the successful build - see the green highlighted text in the screenshot. I need to:
- Run Spring Boot application
I do this by pasting the yellow-green text in at the Terminal prompt.
Step 5: Visit my new application
Spring is running successfully, and I see a message in Terminal saying that my application “myapplication” is running. The message looks like this (highlighting is mine).

Included is a URL I can visit (locally, because I haven’t yet deployed this to production or anywhere) to see the application running! Naturally, I do this immediately, pasting the local URL into my web browser of choice.
And... ta-da! There it is... my very own JHipster application, running locally on my very own browser.
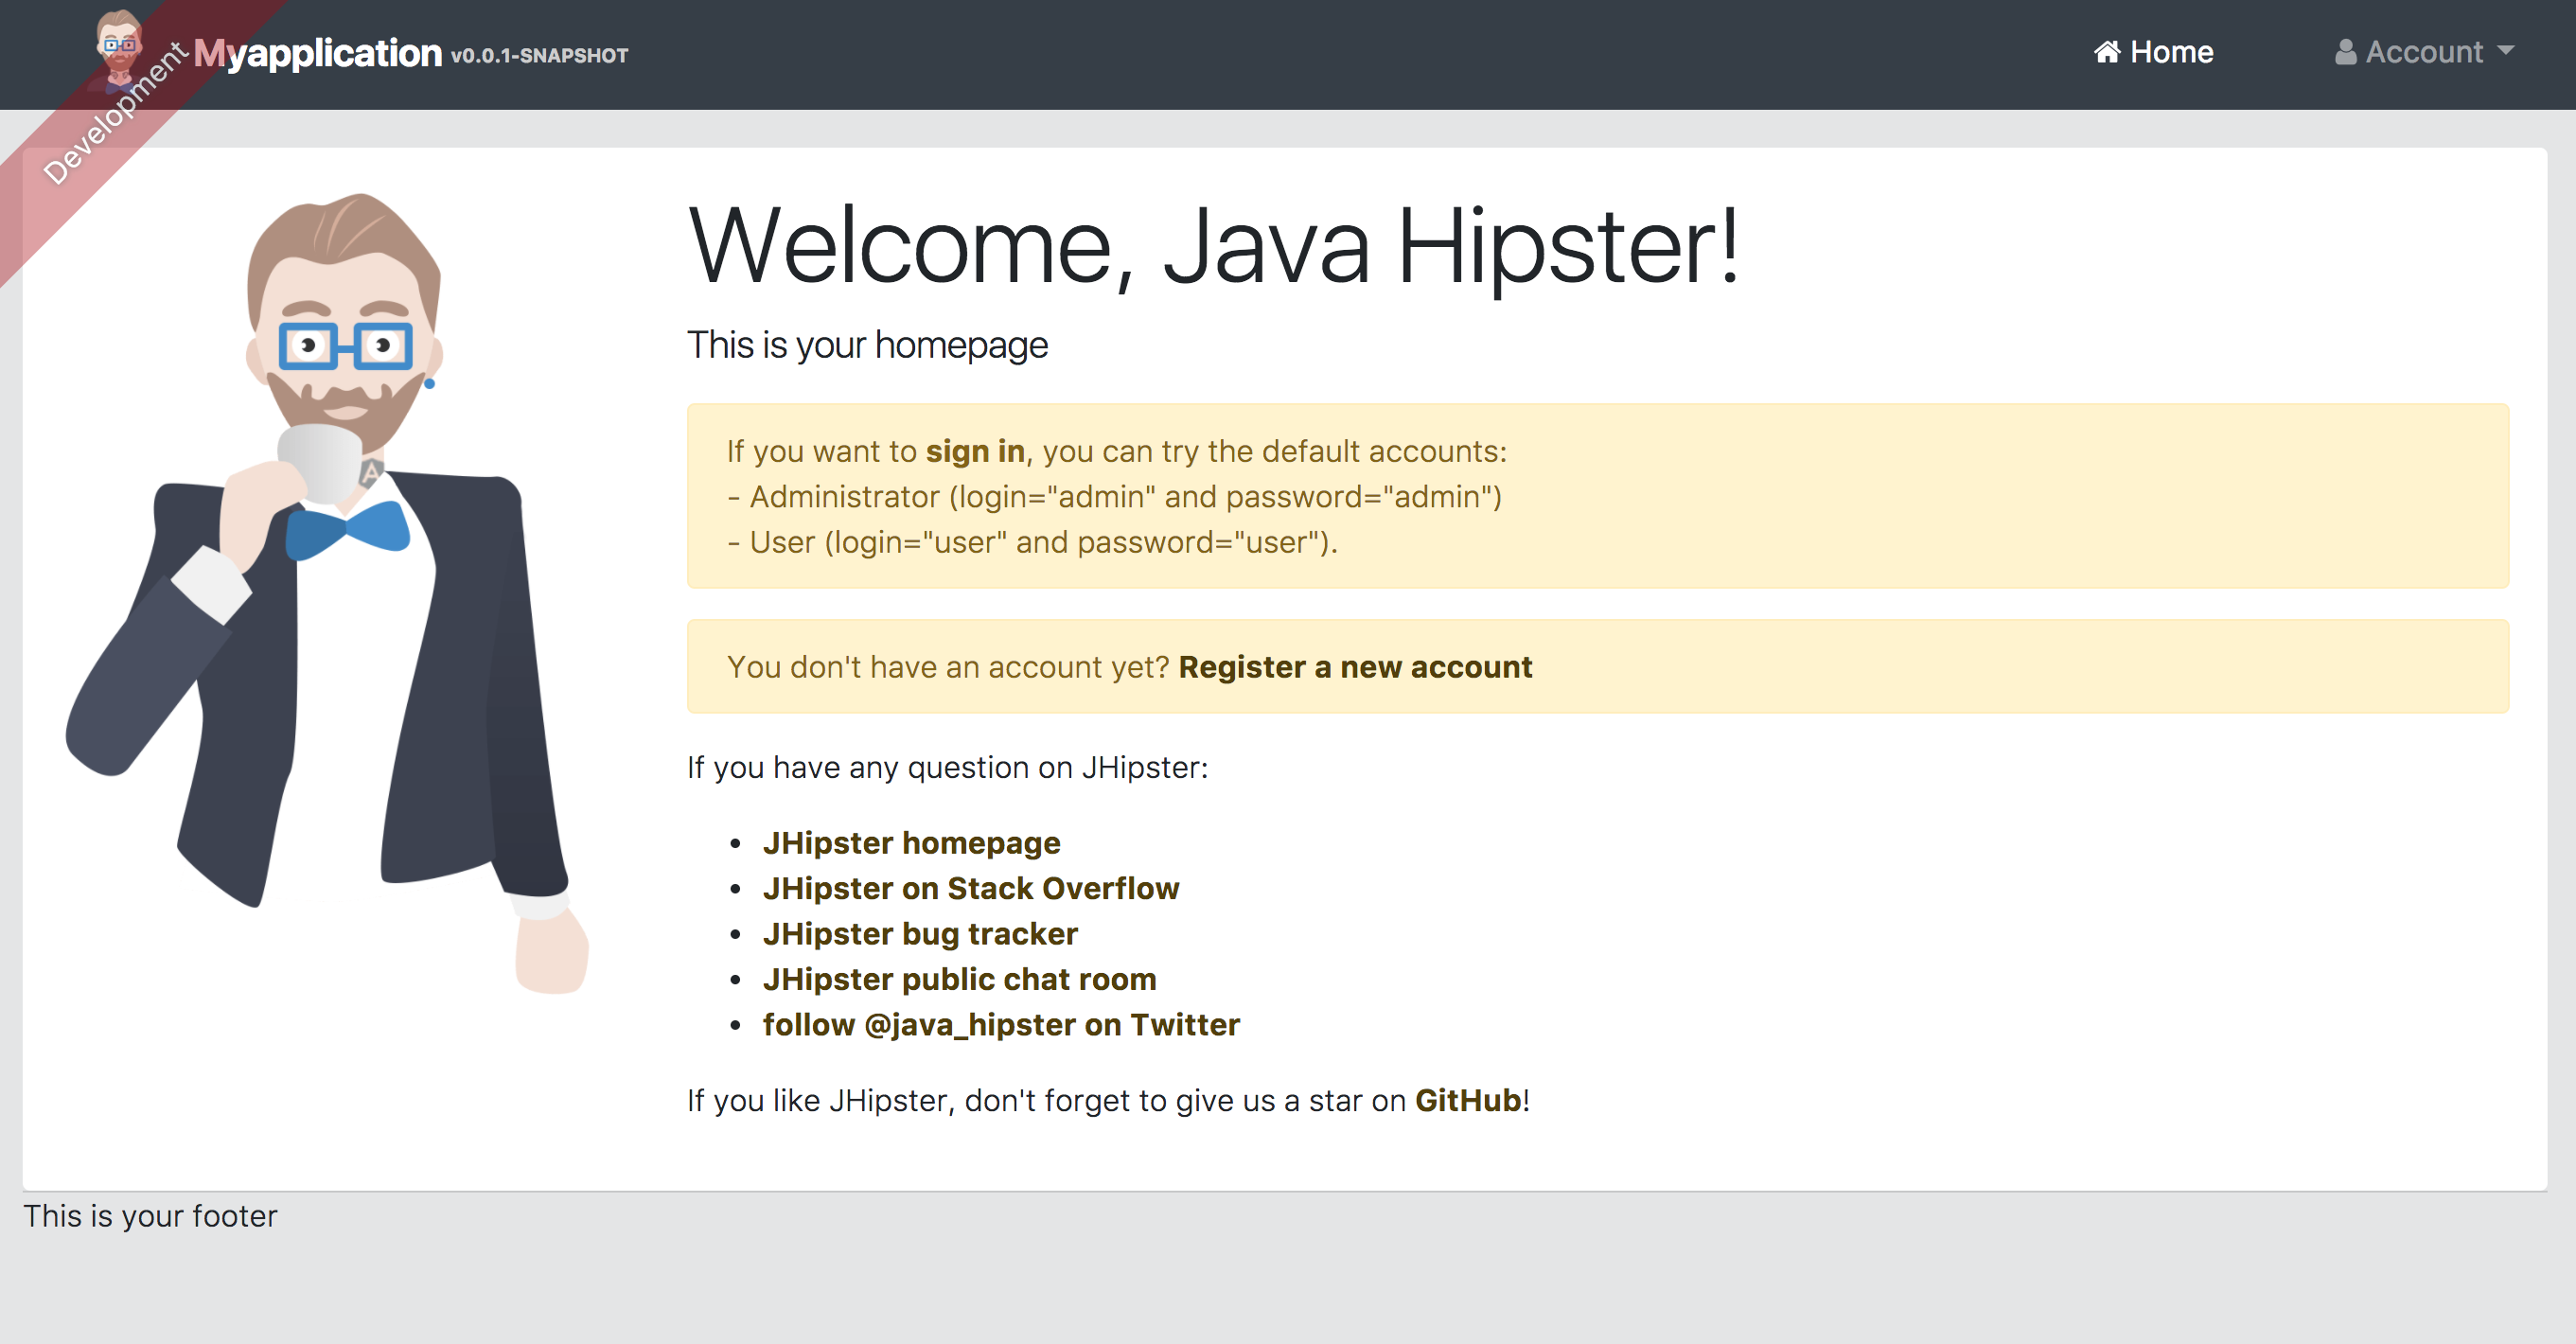
I feel absurdly proud.

I can log in as an admin, or as a user, thanks to the authentication that has been installed as part of the application. Very cool.
So, what have I accomplished?
My application is running locally. This is a great first step, and it’s great if I need to do more tweaking and development work on it. However, this also means it will only run when I tell it to run. After I shut down Terminal, it will no longer be running. And then, to run it again, I’ll need to do the following:
- Open up Terminal and input the following command:
cd myapplication/ - Re-start JHipster by inputting the command
./mvnw - Then I can see the same URL that I saw before, which will allow me to access this locally in a web browser. So easy! I can keep doing this all day long if I want (but it gets boring - trust me).
Possible Next Steps
Thinking beyond local access, after I get my application stable enough, I might want to deploy it to a server, which might be running more frequently or for longer durations. Or, in a production situation, the JHipster app would probably run on a server that would be up 24/7, so it would essentially be running all the time.
So a potential next step, if I continue down this path, would be to deploy my application somewhere, to a hosted environment. Since I don’t have anything like that up at the moment, I’m going to put this on hold for the time being.
Your Turn
So, what do you think? Are you ready to try this yourself? Please do - and reach out to me with any questions at all, because I'd love to hear from you - and help, if I can.


Comments