
JHipster Lite is an application generator that generates step-by-step only what you need for a modern web application and/or microservice architecture. As you might imagine from the name, JHipster Lite is a different approach to application generation than its predecessor, JHipster.
Unlike JHipster, a front-end only or back-end only application can be generated. (JHipster does support just generating microservices) No questions are asked during generation; you decide which components you want as part of the generation process.
JHipster Lite does not currently generate entities or CRUD pages for the front-end. The idea is to set you up with a relatively blank slate with some initial structure. This provides a good starting pattern that can be followed as the application grows.
JHipster Lite also generates code that follows a Hexagonal Architecture. This helps with designing a system around the business intent.
Let’s Build a React App
Run JHipster Lite locally, if you want
You can certainly go straight to the JHipster Lite website and start generating there. But you can also run it locally if you have Docker. (or in my case, Rancher)
This is the command I used to run JHipster Lite locally:
docker run --rm --pull=always -p 7471:7471 -v $(pwd):/tmp/jhlite:Z -it jhipster/jhipster-lite:v0.20.0
You can also pick the latest image but I used v0.20.0 for this if you want to follow along.
If you are running locally, go to http://localhost:7471 to get to the generation UI.
Generate the initial app
For this example, let’s build a React application with a REST service running on the backend. Let’s use JWT basic authentication for security. For the REST service, we can use the dummy-feature module.
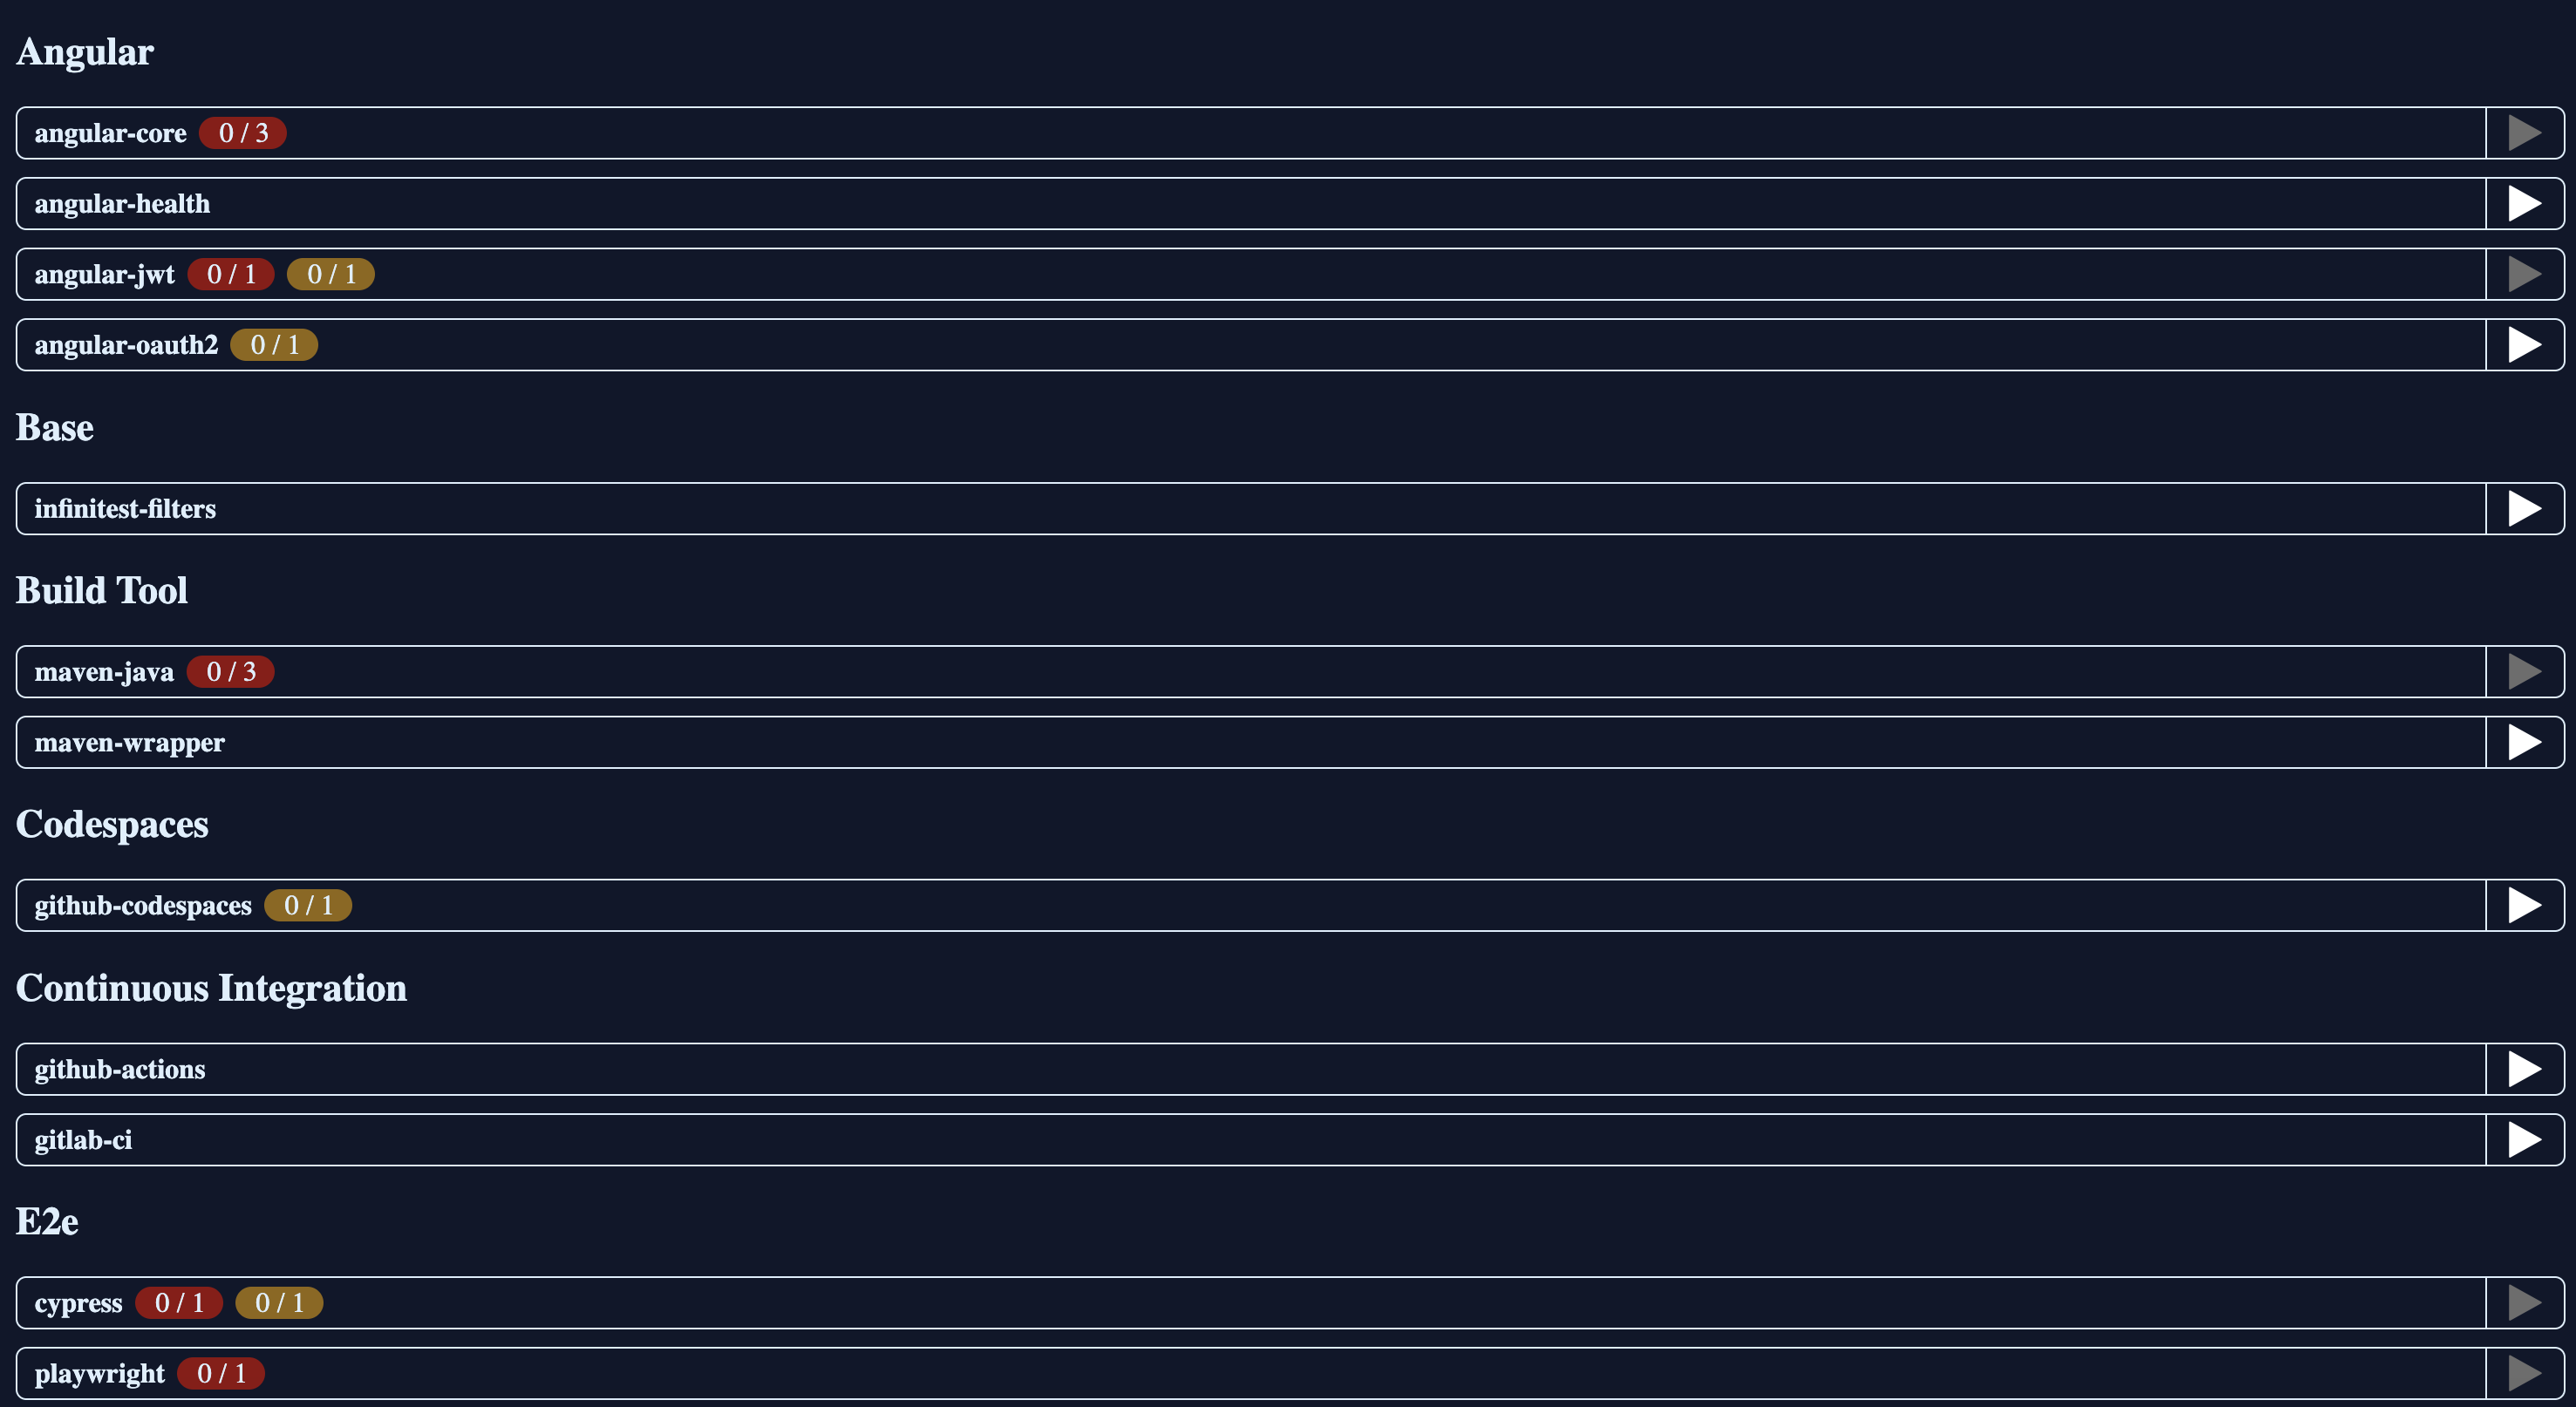
- Go to the
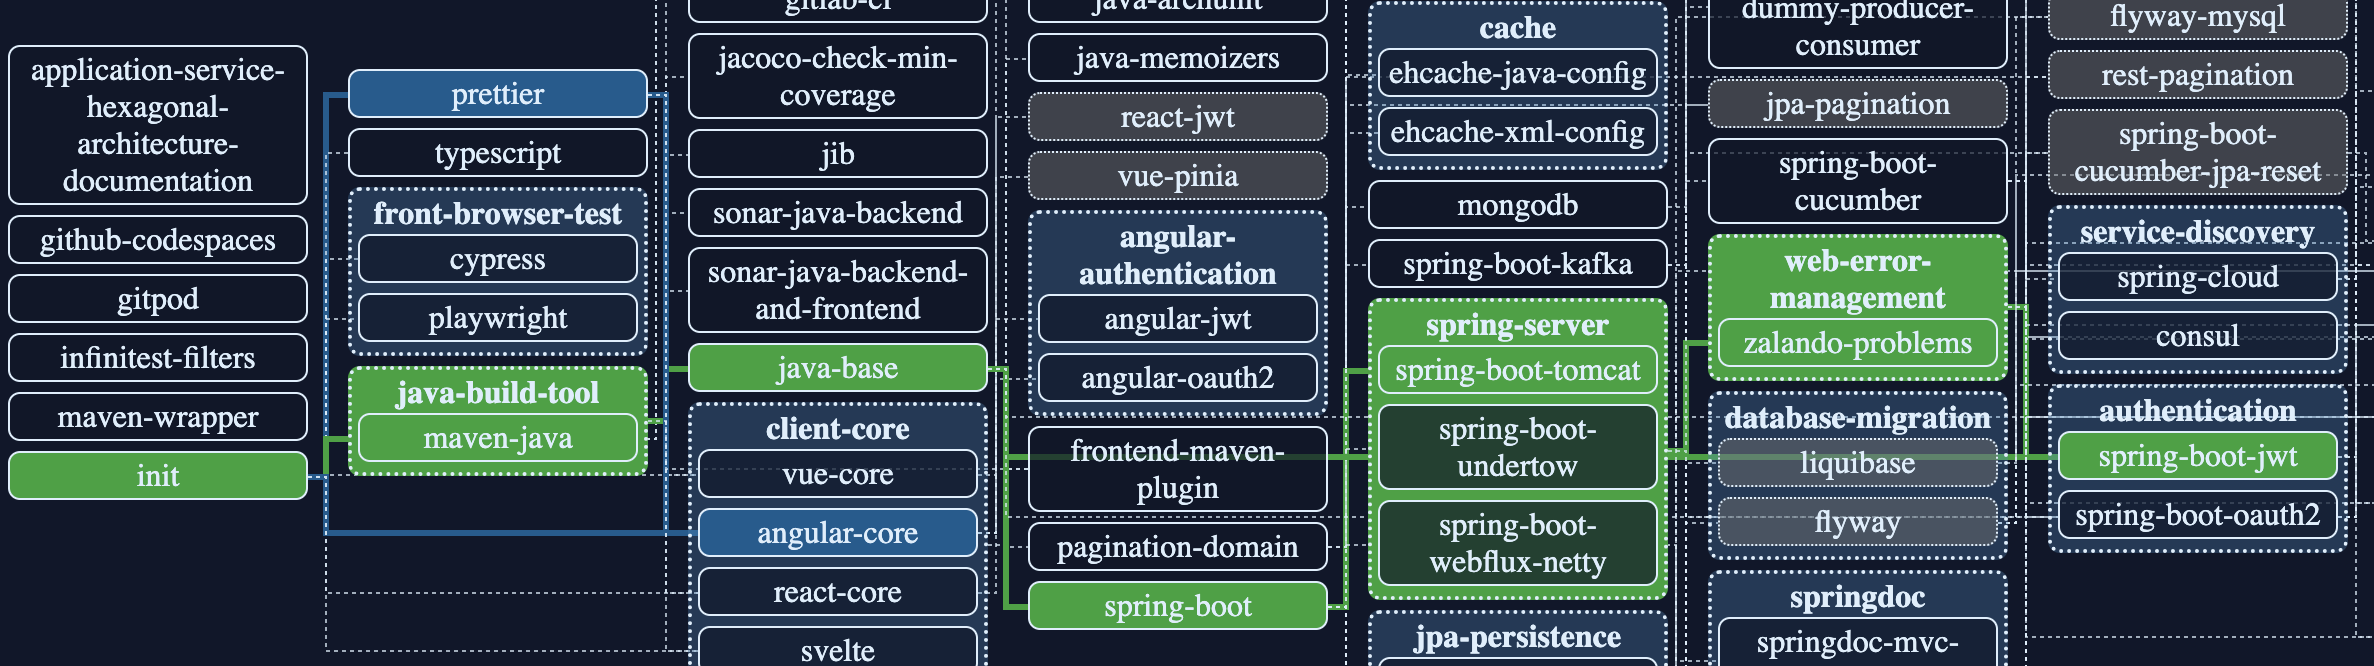
/landscapepage to start selecting modules for the generated app. - If you select
dummy-feature, several modules will be highlighted in red. - Select
spring-boot-tomcat,springdoc-mvc-openapiandspring-boot-cucumber-jwt-authenticationto enable the dummy-feature. - You can change the Properties on the right-hand side to customize the naming and other parameters.
- You should now have 11 modules selected (including the dummy-feature). Go ahead and add them by pressing the
Apply New (11)button. - Add basic auth by selecting
spring-boot-jwt-basic-auththen press theApply New (2)button. - Add React with JWT support by selecting
react-jwtand then press theApply New (3)button. - For convenience, add the front-end maven plugin by selecting
frontend-maven-pluginand press theApply New (1)button. - You should now have 17 modules added and can press the
Downloadbutton to get the generated application. - Unzip the application in an empty directory and you are ready to customize!
Run the application and check out the dummy-service
You can run the application from your new directory by running ./mvnw if you are on a mac/linux machine. You may need to give the file executable permissions. If you already have maven installed, you can run mvn.
The base application will be available at http://localhost:8080 (using the port you chose during generation)
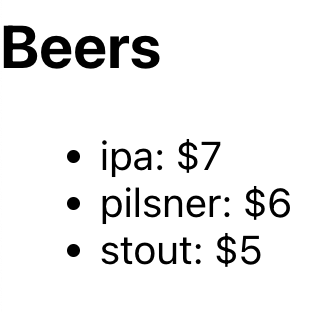
If you go to http://localhost:8080/swagger-ui/index.html you can see that the dummy-feature service is called Beers. A GET, POST and DELETE action was generated. A beer is shown to include an id, name and unitPrice.
Add a Beers function in React
In order to call the Beers service, we first need an interface that matches the attributes of a beer in the service.
Create a folder under src/main/webapp/app called beers.
Create a file in the beers folder called interface.d.ts
export type BeersFunctionType = {
   setBeers: Dispatch<Array<IBeer>>;
};
 export interface IBeer {
   id: string;
   name: string;
   unitPrice: string;
};
Once you have an interface, you can create a file called beers.ts in a folder under beers called services
import axios from 'axios';

import { getLocalStorage } from '@/common/services/storage';
import { BeersFunctionType } from '@/beers/interface';

const BEERS_URL = '/api/beers';

export const getBeers = ({ setBeers }: BeersFunctionType) => {
 const headers = {
   'Authorization': 'Bearer ' + getLocalStorage('token')
 }
  return axios
   .get(BEERS_URL, {
     headers: headers
   })
   .then(response => {
     setBeers(response.data.beers);
   })
   .catch(error => {
     console.error(error);
   });
};
In the authentication code in the generated project, the JWT is stored in local storage during login. We then place this token in the header, in order to make the service call. The response from the service is returned in an array of beer objects.
Display the results of a Beers service call
Create a beers.tsx file to output the results
import { useState, useEffect } from 'react';
import { getBeers } from '@/beers/services/beers';
import { IBeer } from '@/beers/interface';

export default function Beers() {
   const [beers, setBeers] = useState<Array<IBeer>>([]);

   useEffect(() => {getBeers({setBeers})}, []);

   return (
     <h2>Beers</h2>
     <ul>
        {beers.length > 0 && beers.map(beer => (<li>{beer.name}: ${beer.unitPrice}</li>))}
     </ul>
   );
}
The code here makes the call to the getBeers function and displays the beer names and prices in an unordered list.
Add a router and a route to the new beers page
Run npm install react-router-dom to install a router
To add the route, modify the src/main/webapp/app/index.tsx file like the following
import React from 'react';
import { createRoot } from 'react-dom/client';
import './index.css';
import App from '@/common/primary/app/App';
import { BrowserRouter, Routes, Route } from 'react-router-dom';
import Beers from "./beers/beers"

const container = document.getElementById('root');
const root = createRoot(container!);
root.render(
 <React.StrictMode>
   <BrowserRouter>
     <Routes>
       <Route path="/" element={<App />} />
       <Route path="/beers" element={<Beers />} />
     </Routes>
   </BrowserRouter>
 </React.StrictMode>
);
The imports are new and now we have a route for the home page and the new beers page.
Modify the home page to add a link to the new beers page
The home page is located at src/main/webapp/app/common/primary/app/App.tsx
Add a Link import for the react router
import { Link } from "react-router-dom";
Add a link to the new beers page
<Link to="/beers">I love beer</Link>
Add some beers with the service for display
Restart your application to make sure you have the latest changes
First, you need a JWT
curl -X 'POST' 'http://localhost:8080/api/authenticate' -H 'accept: */*' -H 'Content-Type: application/json' -d '{"username": "admin", "password": "admin", "rememberMe": true}'
Make a call to add a few different beers (this is an example) and use the token retrieved above
curl -X 'POST' 'http://localhost:8080/api/beers' -H 'accept: */*' -H 'Content-Type: application/json' -H 'Authorization: Bearer <insert token here>' -d '{"name": "pilsner", "unitPrice": 6}'
See it in action
Go to http://localhost:8080
Log in using user admin and password admin
Either click the I love beer link or go to http://localhost:8080/beers and you should see the list of beers you added
And you are done! Congrats on creating a quick React app with JHipster Lite.
Now Let’s Build an Angular App
Generate the initial app
Follow the instructions above to access JHipster Lite (http://localhost:7471 if running locally)
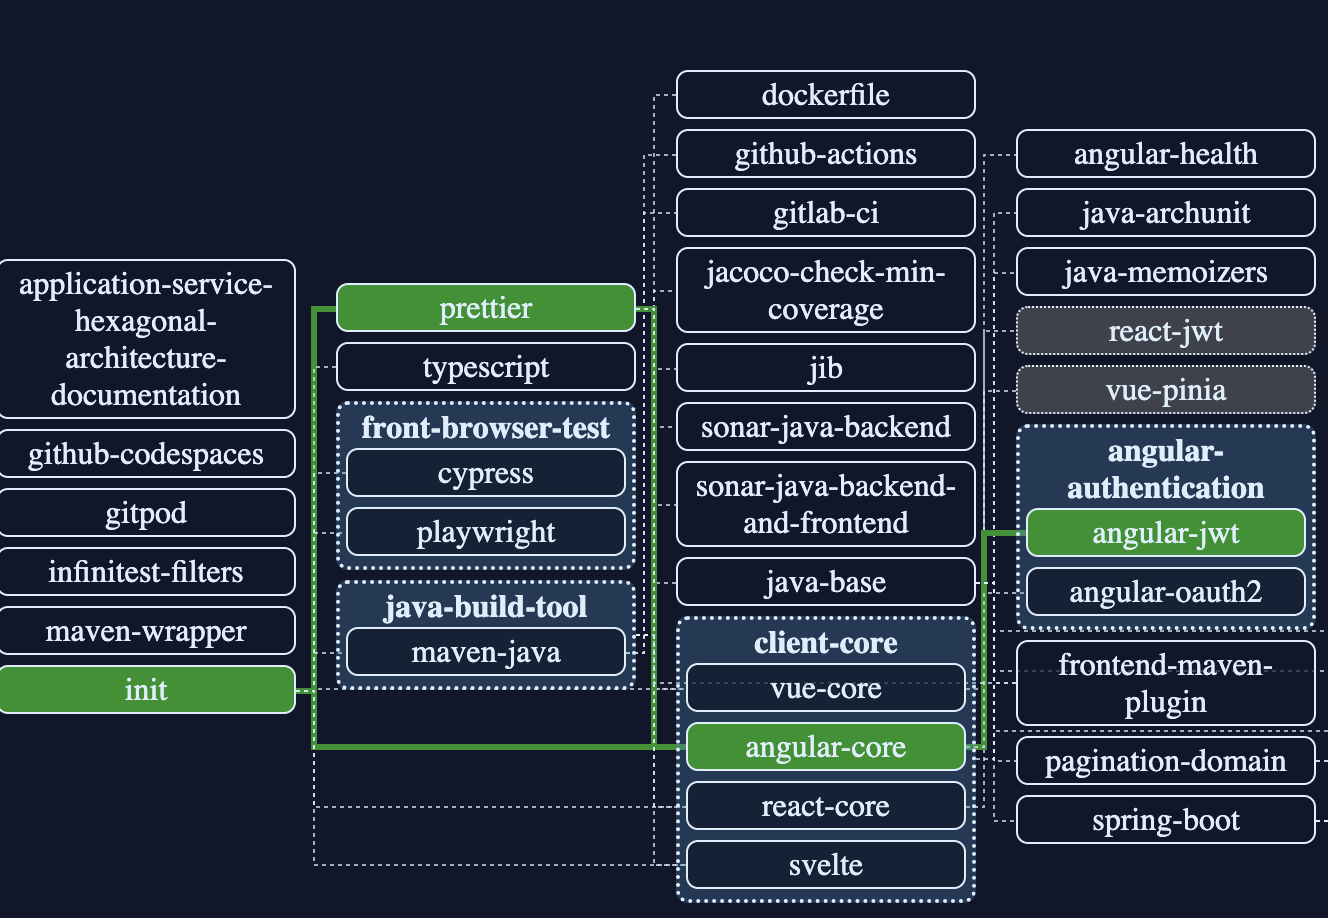
Follow the numbered steps above except replace react-jwt with angular-jwt in Step 7
Add these files
These files follow the pattern of the generated files in the project
Create a directory for these new files: src/main/webapp/app/beers
beers.model.ts
export interface Beers {
   beers: Array<Beer>;
 }
 export interface Beer {
   id: String;
   name: String;
   unitPrice: String;
}
This contains the interface that matches the Beer objects returned from the dummy-service
beers.service.ts
import { Injectable } from '@angular/core';
import { HttpClient } from '@angular/common/http';
import { Observable } from 'rxjs';

import { Beers } from './beers.model';

@Injectable({ providedIn: 'root' })
export class BeersService {
 constructor(private http: HttpClient) {}

 getBeers(): Observable<Beers> {
   return this.http.get<Beers>('/api/beers');
 }
}
This is the service class that makes the HTTP REST call to the beers API. Notice that we do not need to manually add the JWT to the header like in React.
beers.component.ts
import { Component, OnDestroy, OnInit } from '@angular/core';
import { Subject } from 'rxjs';
import { BeersService } from './beers.service';

@Component({
 selector: 'jhi-beers',
 templateUrl: './beers.component.html',
 styleUrls: ['./beers.component.css'],
})
export class BeersComponent implements OnInit, OnDestroy {
 displayedColumns: string[] = ['id', 'name', 'unitPrice'];
 beers: any = [];

 private readonly destroy$ = new Subject<void>();

 constructor(private beersService: BeersService) {}

 ngOnInit(): void {
   this.refresh();
 }

 ngOnDestroy(): void {
   this.destroy$.next();
   this.destroy$.complete();
 }

 refresh(): void {
   this.beersService.getBeers().subscribe({
     next: data => {
       this.beers = data.beers;
     }
   });
 }
}
This component makes a call to the service and puts the beers in an object for use by the UI
beers.route.ts
import { Route } from '@angular/router';

import { BeersComponent } from './beers.component';

export const beersRoute: Route = {
 path: '',
 component: BeersComponent,
 title: 'Beers',
};
We need a beers route that references the new component
beers.module.ts
import { NgModule } from '@angular/core';
import { RouterModule } from '@angular/router';

import { BeersComponent } from './beers.component';
import { beersRoute } from './beers.route';

import { ReactiveFormsModule } from '@angular/forms';
import { CommonModule } from '@angular/common';

import { MatIconModule } from '@angular/material/icon';
import { MatButtonModule } from '@angular/material/button';
import { MatButtonToggleModule } from '@angular/material/button-toggle';
import { MatFormFieldModule } from '@angular/material/form-field';
import { MatInputModule } from '@angular/material/input';
import { MatCardModule } from '@angular/material/card';
import { MatDividerModule } from '@angular/material/divider';
import { MatTableModule } from '@angular/material/table';

@NgModule({
 imports: [
   MatIconModule,
   MatButtonModule,
   MatButtonToggleModule,
   MatFormFieldModule,
   MatInputModule,
   MatCardModule,
   MatDividerModule,
   MatTableModule,
   ReactiveFormsModule,
   CommonModule,
   RouterModule.forChild([beersRoute])
 ],
 declarations: [BeersComponent],
})
export class BeersModule {}
The beers module declares the new component and also adds a new module for a material design table
beers.component.css
mat-card {
   width: 350px;
   display: block;
   margin-left: auto;
   margin-right: auto;
   margin-top: 20px;
 }
A little style copied from the generated code
beers.component.html
<div>
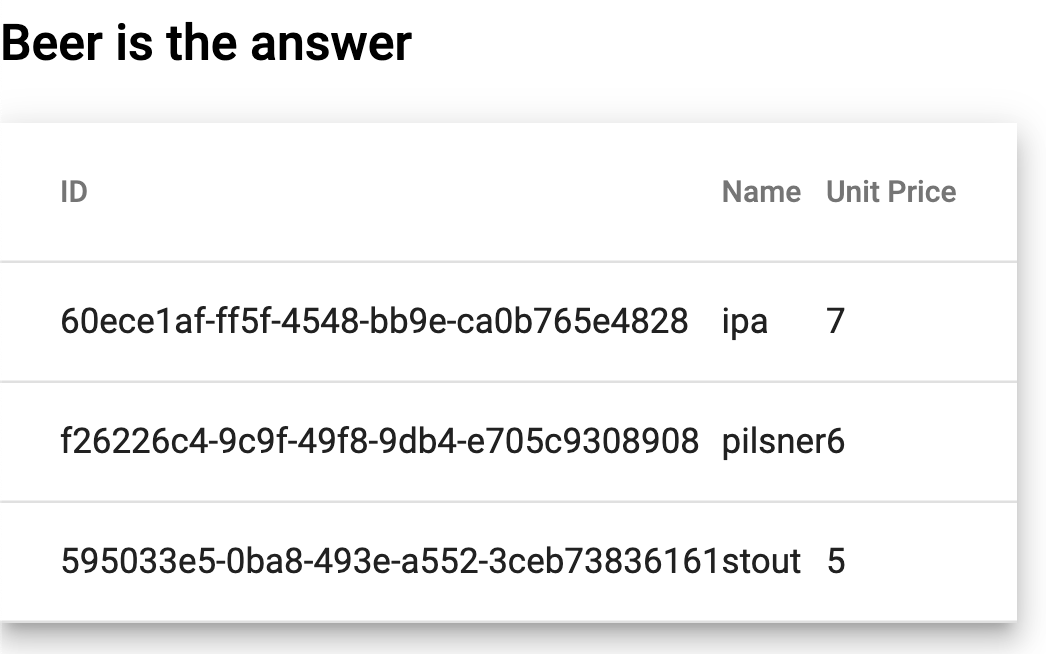
<h2>Beer is the answer</h2>
</div>
<table mat-table [dataSource]="beers" class="mat-elevation-z8" aria-describedby="Beers table">
<ng-container matColumnDef="id">
<th mat-header-cell *matHeaderCellDef>ID</th>
<td mat-cell *matCellDef="let element"></td>
</ng-container>
<ng-container matColumnDef="name">
<th mat-header-cell *matHeaderCellDef>Name</th>
<td mat-cell *matCellDef="let element"></td>
</ng-container>
<ng-container matColumnDef="unitPrice">
<th mat-header-cell *matHeaderCellDef>Unit Price</th>
<td mat-cell *matCellDef="let element"></td>
</ng-container>
<tr mat-header-row *matHeaderRowDef="displayedColumns"></tr>
<tr mat-row *matRowDef="let row; columns: displayedColumns;"></tr>
</table>
An HTML fragment for displaying the beer data in a table
Modify these files
The app-routing.module.ts file needs to have the beers route added. The entire file should look like this:
import { NgModule } from '@angular/core';
import { RouterModule, Routes } from '@angular/router';

export const routes: Routes = [
 {
   path: '',
   loadChildren: () => import('./login/login.module').then(m => m.LoginModule),
 },
 {
   path: 'beers',
   loadChildren: () => import('./beers/beers.module').then(m => m.BeersModule),
 },

// jhipster-needle-angular-route
];

@NgModule({
 imports: [RouterModule.forRoot(routes)],
 exports: [RouterModule],
})
export class AppRoutingModule {}
The last step is to add a link to the home page at app.component.html
<a routerLink="beers" routerLinkActive="active" ariaCurrentWhenActive="page">I love beer</a>
You can now restart and add some beers to the service using the steps above
See it in action
Go to http://localhost:8080
Log in using user admin and password admin
Either click the I love beer link or go to http://localhost:8080/beers and you should see the list of beers you added
Conclusion
As you can see, JHipster Lite helps you bootstrap a new application and hit the ground running. That leaves more time for the functionality and less time with boilerplate code. It can also keep you on the right track if you are just learning a front-end framework and want to work within some known best practices.
Let us know if you would like a talk or demo on JHipster Lite. Or better yet, if you need something built quickly and correctly!

Comments