Tips and Tricks for Token Management in Postman
 Overview
Postman streamlines the API development process by offering a unified platform for designing and testing APIs. With powerful features like automated testing scripts, collection runners, and environment variables, developers can debug efficiently by simulating various scenarios. Postman tokens are instrumental in securing API communications. These tokens, obtained through various authentication methods like OAuth 2.0 or API keys, are then included in API requests.
To call an API in Postman, a developer typically needs to attain a token or API key to authenticate the request. From a manual perspective, this would involve a separate API call to get the needed token.
This blog post will review tips and tricks on how to easily manage and automate the tokens used for API calls more effectively. We will also look at how to manage token-related workflows using Postman JavaScript objects, environment variables, and test scripts.
What’s a Pre-Request Script?
The pre-request script is Javascript code that Postman executes before an API request is made. Pre-request scripts can exist at the API request level or the collection level.
Any Pre-request scripts located at the collection level will execute before each endpoint is called within that collection folder (more on that here). Since this is not necessary for what we're looking at today, we will only review the Pre-request Scripts tab at the individual request level.
Pre-request scripts vs Test scripts
You can see in the above screenshot that there is another tab to the right of the Pre-request Script tab: the Tests tab. Although the Tests tab is generally used for API tests, it can also be used to execute any JavaScript code after the request is made. This includes logic that may assist in the orchestration and/or clean-up of your development workflow.
Here's the simple difference between the two tabs: a Pre-request script is executed before a request is made, and a Test script is executed after a request is made. Both Pre-request and Test scripts use JavaScript. Together, they allow for seamless setup and testing of each endpoint.
Fetching a token with Pre-request scripts
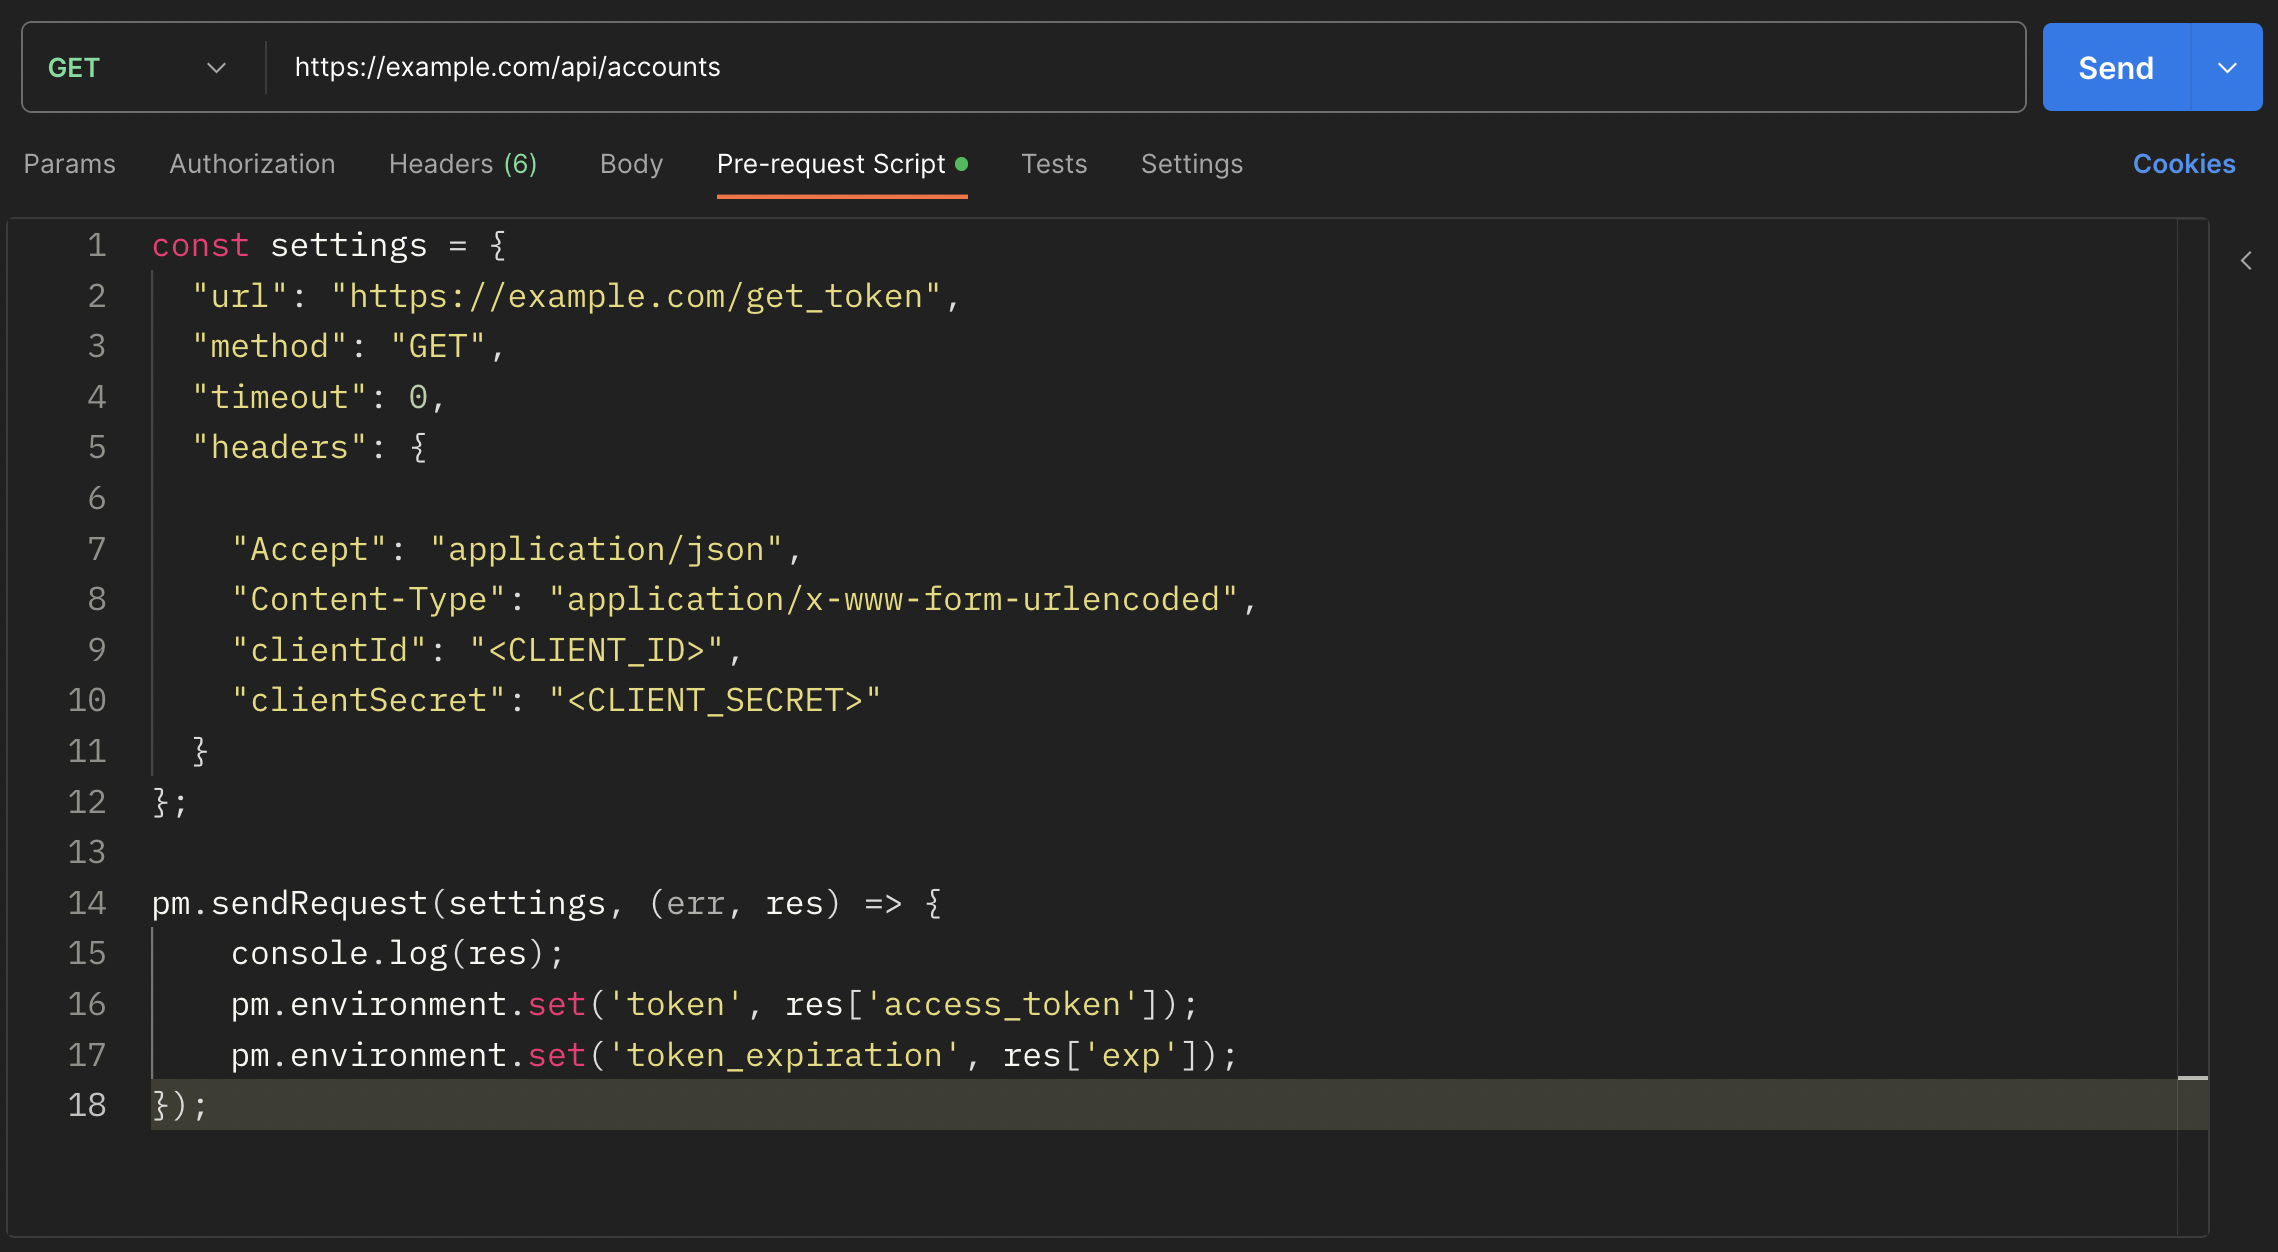
Rather than making two separate calls: one to fetch a token, and a second to actually call the API endpoint, it is possible to build the token fetching endpoint into the Pre-request script of the endpoint that the token will be used for.
In this scenario, the Pre-request script will look like this code snippet:
const settings = {
  "url": "https://example.com/get_token",
  "method": "GET",
  "timeout": 0,
  "headers": {

    "Accept": "application/json",
    "Content-Type": "application/x-www-form-urlencoded",
    "clientId": "<CLIENT_ID>",
    "clientSecret": "<CLIENT_SECRET>"
  }
};

pm.sendRequest(settings, (err, res) => {
    console.log(res);
    pm.environment.set('token', res['access_token']);
    pm.environment.set('token_expiration', res['exp']);
});
This script sends a GET request to fetch the token with the necessary credentials and saves the token value to the environment variable token.
Token expiration management
Postman introduced a feature in early 2023 that allows for token refresh support for OAuth 2.0. This feature has made it easier for developers to refresh OAuth 2.0 access tokens without needing to go through the entire authorization process again.
However, for tokens that are not OAuth 2.0, it is still possible to automate the token refresh process with the Pre-requests scripts of an API request. You can do so by having the Pre-request script decode and read the expiration value, or exp, of an existing token and fetch a new token if the current one has expired. This can be done with the following example:
var atob = require('atob');
const [jwtHeader, jwtPayload, jwtSignature] = pm.environment.get('token').split('.')
const jwtPayloadJsonString = atob(jwtPayload)

const jwtPayloadJson = JSON.parse(jwtPayloadJsonString)
var exp = pm.environment.get('token_expiration') * 1000;
const now = new Date();

if (now > Date(exp)) {
    const settings = {
        "url": "https://example.com/get_token",
        "method": "GET",
        "timeout": 0,
        "headers": {

            "Accept": "application/json",
            "Content-Type": "application/x-www-form-urlencoded",
            "clientId": "<CLIENT_ID>",
            "clientSecret": "<CLIENT_SECRET>"
        }
    };

        pm.sendRequest(settings, (err, res) => {
            console.log(res);
            pm.environment.set('token', res['access_token']);
            pm.environment.set('token_expiration', res['exp']);
        });
}
console.log(jwtPayloadJson)
Here, we use the atob library (yes, you can use external JavaScript libraries in Postman scripts!) to decode the token that currently exists in the environment variable token. We then compare the token expiration value to the current Date() value to determine if the token has expired.
Then, a new token is fetched only if the current token has expired. This reduces unnecessary calls for a token refresh before the request is made. If the token has not expired yet, the token fetching endpoint is not called and the main request is called as usual using the current token.
Automating token deletion after a request
For security reasons, it is also possible to scrub a token value from your environment variables after a successful request is made. This is done in the Test script tab of the request, with a simple block of code that unsets the token environment variable. The "if" block ensures that the code only runs if the response of the API call is 200 OK. This way, we are able to use the token that we need for the request without persisting the token value in the Postman environment any longer than necessary.
if (pm.response.code === 200) {
    pm.environment.unset("token");
}

Conclusion
With these features that allow for efficient management within the Postman platform, developers can seamlessly integrate their API workflows. The use of Postman’s various script features contributes to a streamlined and efficient development.
As Postman comes out with new features in the future, it is possible that these features may be integrated into its platform altogether. For now, hopefully, this has provided you with some tips and helpful pointers for how to do so on your own.


Comments